
Last updated: October 21, 2026
Key Takeaways
- The essentials are beads, matching cord or wire, a proper needle, cutting tools, and a finish method.
- Round beads and size 8/0 or 6/0 seed beads are usually the easiest starting point.
- Match the stringing material to the bead holes and the piece’s intended use.
- A small set of correct tools matters more than a large box of extras.
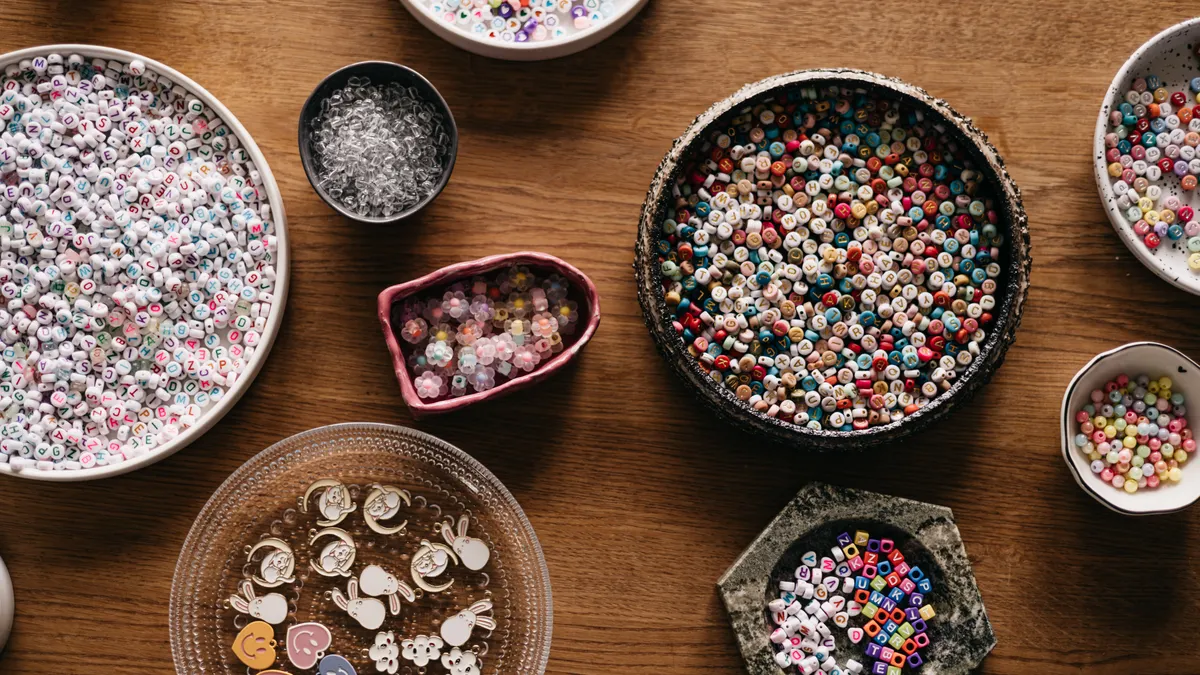
Beading Basics and Supplies: The Complete Guide starts with three decisions: what you want to make, what you want the beads to sit on, and how much frustration you want to avoid on the first project. Quick answer: 4 core supplies are enough for many beginner projects. If the goal is a bracelet, necklace, or simple earring, the right starter supplies are usually a small set of seed beads or round beads, the correct stringing material, the right needle, and a clasp or finish that matches the weight of the piece. I write on jewelry-making materials and tool selection, so I know which supplies solve problems and which ones just fill a drawer.
What are the essential beading supplies for a beginner?
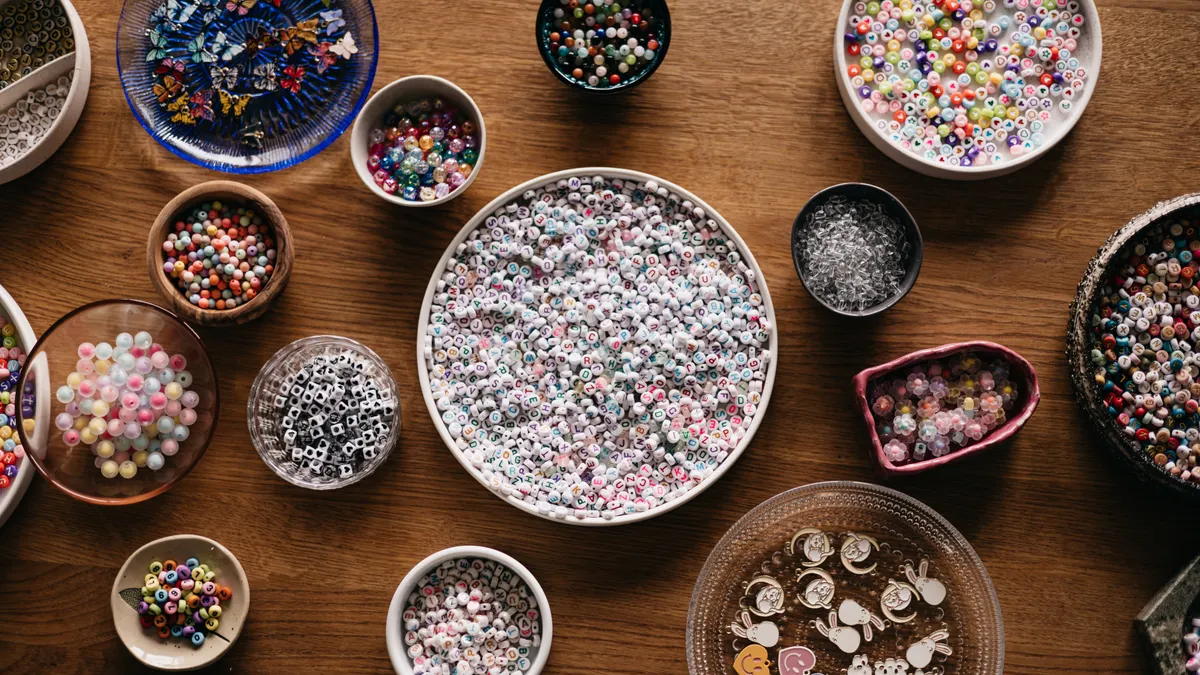
The essentials are beads, a cord or wire that matches the project, the right needle, cutting tools, and a way to finish the piece. That short list covers most beginner mistakes before they happen.
A generic beginner kit often throws in everything except the one thing a project actually needs: a matched system. Beads alone are not enough. Tiny seed beads, for example, usually need a flexible thread and a beading needle; heavier glass or gemstone beads need something that can support more weight without stretching or kinking. A 6 mm fire-polished glass bead, a size 8 seed bead, and a 24-gauge wire do not behave the same way, and treating them as interchangeable is how a bracelet ends up floppy or broken. For a project with mixed bead sizes or heavier components, consult a beadwork professional or supplier spec sheet before choosing wire or thread. Bead hole and wire-fit data should come from the product listing or maker documentation, not guesswork.
The safest starter setup depends on the project type, so a beginner should choose the project first:
- Simple strung bracelet or necklace: round beads, beading wire, crimp beads, crimping pliers, clasp.
- Seed bead bracelet or peyote-style strip: seed beads, beading thread, size 10 or 12 beading needle, thread conditioner if desired.
- Wire-wrapped jewelry: round-nose pliers, chain-nose pliers, flush cutters, wire in a suitable gauge.
- Earrings: head pins or eye pins, ear wires, small pliers, beads that are light enough for comfortable wear.
The key question is not “What should I buy?” It is “What am I making first?” That answer determines everything else. A beginner who wants a flat woven band should not start with stiff memory wire. A person making a few dangling earrings does not need a giant stash of specialty clasps. The wrong supplies can turn a simple project into a repair job.
For a first buy, focus on a narrow color palette and one bead family. Sizes that are easy to handle include 6 mm round beads and larger, while very small seed beads such as size 15/0 are better left until hand-eye coordination and tension control improve. If a kit includes unlabeled beads, mixed hole sizes, or mystery cord, it is not a shortcut. It is a guessing game.
What beginners should skip
Skip bulk assortments with no bead size listed, very cheap tools with flimsy jaws, and cord that is not named by material and diameter. Those purchases usually create more problems than projects. A bracelet failure after an hour of work costs more than a better spool of thread would have.
Which bead types should I start with?
Round beads and size 8/0 or 6/0 seed beads are the easiest starting point because they are forgiving, easy to pick up, and simple to thread. They let a beginner learn spacing, tension, and pattern layout without fighting tiny parts.
Not all beads behave the same. That sounds obvious until a project goes sideways. Smooth round beads slide easily on wire and thread, which makes them good for stringing. Seed beads stack neatly for woven patterns. Faceted crystal beads add sparkle, but their edges can show thread tension mistakes faster than plain rounds. Bugle beads create crisp lines, yet they can cut thread more easily and demand better handling.
Here is the practical breakdown:
- Round beads: Best for first stringing projects and stretchy bracelets. They are easy to mix in color patterns and do not demand precision placement.
- Seed beads: Best for loom work, peyote stitch, brick stitch, and simple embellishment. Size 8/0 is easier for beginners than 11/0 or 15/0.
- Gemstone beads: Attractive and durable, but often heavier and pricier. Hole size can be inconsistent, so check the hole before committing to a pattern.
- Glass beads: A broad category with a lot of variety. They can be beautiful and affordable.
- Metal beads and spacers: Useful in stringing projects, but they add weight quickly and can look cluttered if overused.
A beginner often assumes smaller is better because delicate jewelry looks more “professional.” That is backwards at the start. Small beads are harder to see, harder to string, and harder to control. A pattern made with size 11/0 seed beads and a size 10 needle is already enough of a challenge for a first woven piece. Starting with 8/0 beads gives the hands room to learn.
Shape matters too. Cube beads, rondelles, bugles, drops, and delicas all create different effects, but each shape introduces a new kind of spacing problem. If the first goal is to understand the basics, plain rounds and a few standardized seed bead sizes are a better teaching tool.
Beading thread, wire, or elastic: what should I use?
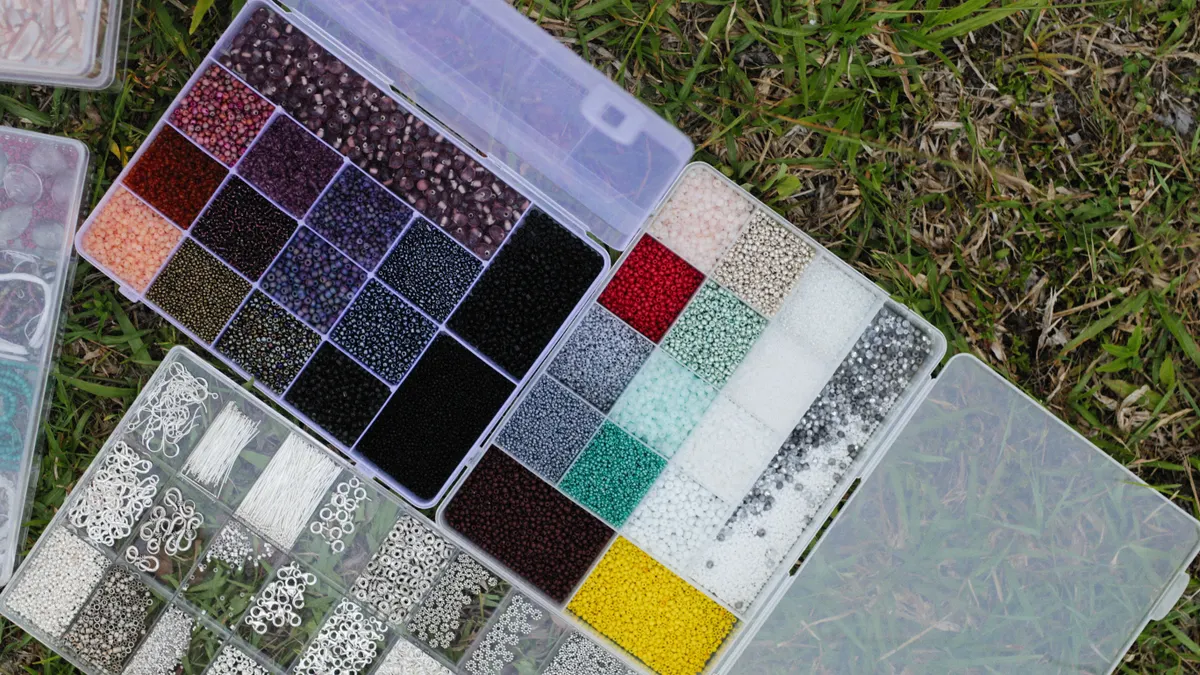
Use the stringing material that matches both the bead holes and the finished piece’s job. Elastic is easiest for quick bracelets, beading thread is best for woven seed bead work, and beading wire is the better choice for structured strung jewelry that needs more support.
This is where many beginners buy the wrong supply. “String” is not one thing. A delicate seed bead bracelet and a beaded necklace with 8 mm crystals need different foundations.
Beading thread
Beading thread is the right choice for peyote stitch, brick stitch, loom work, and many off-loom bead-weaving techniques. Common choices include nylon-based threads and brands sold specifically for beadwork. These threads are thin enough to pass through small bead holes multiple times, which is critical for woven structures.
Strength comes with a trade-off: thread can fray if the bead holes are rough, and it can stretch slightly under tension. That means the pattern can loosen if the thread choice is too soft for the bead weight or the stitch count is too loose.
Beading wire
Beading wire is best for strung necklaces and bracelets that need a polished, supported drape. It usually comes in multiple strands with a nylon coating. The number of strands and the wire diameter affect flexibility and durability. More strands generally mean softer drape; heavier strand counts or thicker diameters generally mean more structure.
The downside is simple: wire is less forgiving than thread. If the design needs tight bends or repeated weaving through the same bead, wire can be the wrong tool. It also needs crimp beads or another proper finishing method. Knots alone are usually not enough.
Elastic
Elastic is the easiest option for stretch bracelets and kids’ projects. It removes the need for clasps and makes sizing less exact. That convenience is why it is popular.
The drawback is also clear: elastic wears out. It can lose stretch, fray, or snap, especially if the bracelet is overfilled with heavy beads. A stretch bracelet made with sharp-edged beads or excessive tension is asking for failure. Elastic can work for casual wear and simple projects, but it is not the strongest choice for heirloom-quality work.
Cord and other supports
For macramé-style jewelry, leather cord, satin cord, and hemp can be useful. These are not universal beading choices. Their thickness and texture limit which beads fit, and some cords are too bulky for fine detail work. If the bead hole is small, cord may simply not pass through.
The right rule is blunt: choose thread for woven beadwork, wire for supported strung pieces, and elastic only when flexibility matters more than lifespan.
What tools do I actually need?
A small set of proper hand tools matters more than a large box of accessories. The essential tools are a pair of small scissors or thread snips, a beading needle, round-nose pliers, chain-nose pliers, and flush cutters if the project uses wire.
Too many beginner tool kits are built around volume instead of function. A 20-piece kit can still be missing the one plier that makes a clean loop. The right tools do specific jobs, and the job determines the shape of the tool.
Needles
Needles are not all the same. Size 10 and size 12 beading needles are common for seed bead work because they can pass through small holes. A larger needle is easier to thread and handle, but it may not fit through a bead more than once. A smaller needle threads easier through tight patterns, but it is less forgiving for beginners.
If the bead hole is too tight for the needle-and-thread combination, the design choice has already failed. Measure the bead hole against the project plan, not just the bead label.
Pliers
- Round-nose pliers make loops and curved wire shapes.
- Chain-nose pliers hold, bend, and close findings.
- Flush cutters trim wire cleanly so the end is less likely to snag skin or thread.
Cheap cutters often crush rather than slice wire cleanly. That rough end can scratch fingers and fray cord. For that reason alone, decent cutters matter more than decorative extras.
Threading and finishing aids
Thread conditioners can help reduce fraying and improve handling on some threads, but they are optional rather than mandatory. Bead mats keep pieces from rolling away. Small trays or compartment boxes help sort colors and sizes. These are not glamorous purchases, yet they save time and prevent loss.
A bead stopper or small clip can also keep beads from sliding off the end of a strand. That is useful on long projects, especially when spacing beads before crimping.
Storage
Clear containers, labeled tubes, and zip pouches are part of the toolkit, not an afterthought. Seed beads spill easily and mix fast. Once two colors look similar on a mat, they become impossible to separate by eye alone. Good storage is not about being tidy for its own sake. It protects the project from chaos.
A side-by-side look at starter bead materials
The choice comes down to how the project will be worn, how much skill it requires, and how much failure you can tolerate during learning. Seed beads win for woven learning projects, while round beads win for the easiest first strung pieces.
| Criteria | Seed beads | Round beads | Winner for this condition |
|---|---|---|---|
| Best first project | Peyote, brick stitch, loom work | Stretch bracelets, simple necklaces | Round beads for a first-ever project |
| Ease of handling | Small sizes like 8/0 or 11/0 take practice | Usually easier to pick up and thread | Round beads |
| Design control | Excellent for pattern detail and texture | Good for color blocking, less precise detail | Seed beads |
| Thread demands | Usually needs fine beading thread and a needle | Can use elastic, thread, or wire depending on size | Round beads for flexibility |
| Durability in wear | Strong when stitched correctly, but depends on thread path | Strong when strung on proper wire or cord | Round beads for simple durability |
| Speed of learning | Slower, more technical | Faster, fewer moving parts | Round beads |
| Repair difficulty | Repairs can be fiddly | Usually simpler to restring | Round beads |
| Visual payoff | High pattern complexity | Clean but simpler look | Seed beads for intricate designs |
The table only tells part of the story. Seed beads are the better long-term learning material if the goal is weaving, because they teach tension, pattern reading, and thread control. Round beads are the better starting point if the goal is one finished piece with the fewest variables. That distinction matters more than any brand name on the package.
A beginner who wants an immediate win should start with round beads and a basic wire or elastic bracelet. A beginner who wants to learn bead weaving should start with 8/0 seed beads before moving to smaller sizes. The mistake is trying to learn both stringing and weaving at full difficulty on day one.
How do I choose supplies without wasting money?
Choose the fewest supplies that can complete one specific project, not the biggest kit that promises to cover everything. A focused purchase beats a rainbow assortment every time because it reduces mismatched parts, unusable leftovers, and tool clutter.
The most common waste happens in three places: overbuying bead mixes, buying the wrong cord diameter, and purchasing tool sets with weak pliers. A tray of mixed beads can look exciting online and turn into a pile of unusable fragments at the worktable. If the package does not state bead size, hole size, material, or strand length clearly, it is not beginner-friendly enough.
A smarter first purchase list looks like this:
- One bead style, such as 6 mm rounds or 8/0 seed beads.
- One proper stringing material matched to the project.
- One needle size appropriate for the bead hole.
- One finishing system: clasp and crimp beads, or elastic, or a knotting method.
- One set of basic tools, not an oversized kit of duplicates.
Also check whether the project uses standard hole sizes. Some gemstone beads have small or inconsistent holes, which can limit the needle or cord that fits. That matters more than a pretty photo. If the bead hole cannot take your chosen material more than once, the design may need to change.
Brand-name tools are not mandatory, but metal quality matters. Poorly aligned pliers can mark wire. Dull cutters can flatten the end instead of cutting it. On the other hand, not every expensive supply is necessary. A beginner does not need premium thread for a simple practice bracelet. A practical middle ground can be the best buy.
If the goal is to learn, spend on the right bead count, the correct thread or wire, and one reliable pair of cutters before chasing specialty beads.
What mistakes ruin beginner bead projects?
The most common project-killers are wrong bead-hole sizing, bad tension, and mismatched finishing parts. Those three problems cause more frustration than lack of creativity ever will.
Here is the honest list.
1) Using the wrong needle or cord
If a size 12 needle will not pass through the bead hole, forcing it is not a solution. The bead, needle, and thread must work as a set. A mismatch can split thread, crack a bead, or stop the project halfway through.
2) Pulling too tightly
New beaders often tighten every stitch because loose work feels wrong. That creates warped edges, curled strips, and broken thread. Good beadwork has controlled tension, not strangled tension. The right feel is firm, not rigid.
3) Ignoring bead finish and edge quality
Cut or sharp-edged beads can abrade thread. Some coated finishes chip if scuffed against tools. A beautiful bead that damages its own stringing material is not a bargain.
4) Picking the wrong finish
A clasp that is too small for the project weight is a problem. So is a crimp bead that does not match the wire diameter. A stretch bracelet with too many heavy beads can sag. Each finish has a limit, and beadwork respects physics even when the color palette is perfect.
5) Buying everything at once
Many beginners buy tools for techniques they have not learned yet. That often means a drawer full of unused supplies and no finished jewelry. Start with one technique and a small color set. Expansion makes sense after a first successful project, not before.
The cleanest way to avoid these mistakes is to build around a single project. A seed bead bracelet, a simple wire-wrapped pendant, and a stretch bracelet each require different supplies. Mixing them into one shopping cart is how beginners end up with the wrong needle, the wrong wire, and the wrong expectation.
Which starter setup should I choose first?
Choose the simplest setup that matches the project you want to finish in one sitting. For a first bracelet, round beads on elastic or beading wire are the easiest path. For a first woven piece, size 8/0 seed beads with beading thread are the better choice.
This is the point where a clear recommendation matters more than a long list. If the main goal is to finish something wearable without a steep learning curve, start with round beads, a limited palette, and a straightforward finish. If the main goal is to learn bead weaving as a craft, start with seed beads and accept that the first piece may be practice rather than perfection.
The most useful starter set is often smaller than a beginner expects:
- 2–3 bead colors, not 20
- One bead size family
- One cord or wire type
- One needle size that fits the hole
- One pair of decent cutters or thread snips
- One bead mat or tray
That restraint is not stingy. It is strategic. Beading gets expensive when the supplies are mismatched, not when the list is short.
What should I ignore when I’m starting out?
Ignore oversized kits, mixed mystery beads, and tools built for every craft except the one you are doing. Those items are usually aimed at impulse buying, not successful projects.
I would also ignore the idea that beading requires a huge table full of specialty gear. It does not. A clear work surface, enough light, and the right few supplies are more useful than ten gadgets. A single pair of pliers that closes cleanly matters more than a bag of novelty tools. A labeled bead box matters more than a decorative organizer that cannot hold seed beads without mixing them.
Another thing to ignore: the pressure to buy the smallest beads first. Fine beadwork looks impressive, but tiny beads are not the easiest way to learn control. A size 11/0 seed bead or 15/0 bead can come later. Start with 8/0 seed beads or larger round beads and build skill before shrinking the scale.
For readers who want a source point for technique standards and tool terminology, the Bead Society of Great Britain and the Gemological Institute of America are useful references for bead and gemstone vocabulary, while standards for materials and dimensions are often best checked through the maker’s own product data and labeled sizes rather than guesses. When a supplier lists no hole size, no strand length, or no wire gauge, that omission itself is useful information.
Can I make good jewelry with a small supply list?
Yes, and a small supply list is usually the smartest place to begin. A bracelet, pendant, or pair of earrings can be made with fewer than a dozen well-chosen items if the materials match the technique.
That is the quiet truth behind good beadwork. The finished piece depends less on the size of the stash and more on the fit between bead, thread, tool, and design. A beginner can make clean, wearable jewelry with a handful of 6 mm beads, a reliable cord or wire, and properly sized findings. The extra purchases can wait.
The best first bead project is the one that teaches one skill clearly. A stretch bracelet teaches spacing and knot security. A simple strung necklace teaches finishing and balance. A seed bead strip teaches tension and pattern repetition. Each one is useful. None of them requires a warehouse.
If the question is what to buy first, the answer is simple: buy for one project, not for a future you do not yet understand. That is how beadwork stays enjoyable instead of turning into a box of half-finished materials.
Frequently asked questions
What bead size is easiest for beginners?
Size 8/0 seed beads or round beads around 6 mm are the easiest starting points. They are large enough to handle comfortably and small enough to learn basic design principles without frustration.
Do I need special pliers for beading?
Yes, if the project uses wire or findings. Round-nose pliers, chain-nose pliers, and flush cutters cover most beginner wire work, and the difference in end quality is noticeable.
Is elastic good for permanent jewelry?
No. Elastic is convenient for casual stretch bracelets, but it is a wear item and can lose integrity over time. For a longer-lasting piece, beading wire or thread with a proper closure is the better choice.
What is the best first project?
A simple stretch bracelet or a basic strung bracelet is the easiest first project. It uses fewer tools and gives fast feedback on bead spacing, color balance, and finish quality.
Drafted with AI; not yet reviewed by a person.



Leave a Reply