
Last updated: October 27, 2026
Quick answer: choose beading thread, wire, or cord by matching the material to the bead holes, the finished drape, and the amount of flex the project needs. A bracelet strung on 0.014-inch beading wire behaves very differently from one made with nylon thread or 1 mm stretch cord, and the wrong choice usually shows up as broken strands, stiff curves, or knots that slip. For How to Choose Beading Thread, Wire, and Cord for Your Project, the material choice depends on the project, not habit.
Key Takeaways
- Pick the material by the finished job it must do.
- Use thread for flexible, stitched work, wire for smooth strands, and cord for elastic bracelets.
- Choose thread when the piece must bend like fabric and pass through beads more than once.
- Wire fits better when the piece needs a smooth drape, a polished look, and a crimp-tube finish.
Pick the stringing material by the job, not by habit
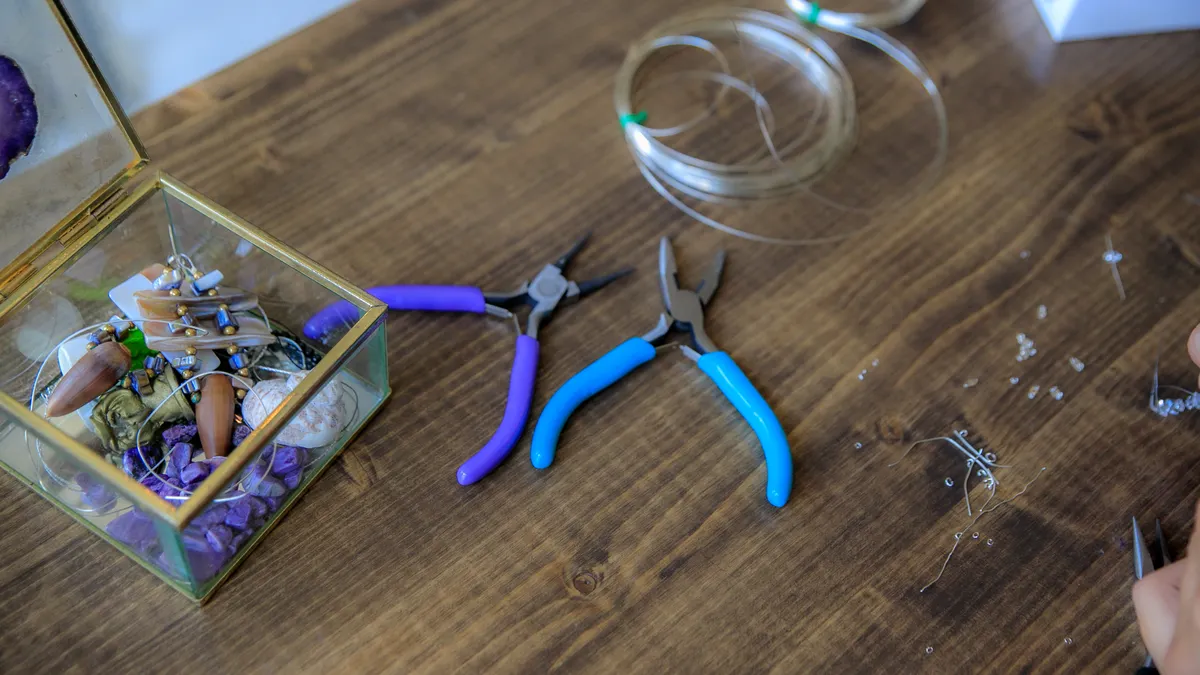
The right stringing material depends on what the piece must do once it is finished. A necklace with glass seed beads wants something thin and flexible. A strand of heavier gemstone beads may need wire with a crimp tube finish. A bracelet meant to slide on and off without a clasp usually needs stretch cord, not thread.
That decision is where a lot of generic advice falls apart. “Strong” is not enough. FireLine can be a better choice than nylon thread for sharp-edged beads because it resists abrasion, but it is not the right answer for every design. Beading wire is excellent when a strand should hang smoothly, yet it will not give you the same fabric-like feel as nylon thread. Stretch cord can solve quick bracelet projects, but consult a professional if the design needs a secure clasp and no give. BeadSHOP notes that elastic cord is mainly for stretch bracelets, while soft stringing materials are used for stitched beadwork. (Source: BeadSHOP)
A useful way to think about it is in three questions:
- Does the project need drape?
- Does it need stretch?
- Do the bead holes allow the material to pass through more than once?
If the answer to the first is yes, you are usually in thread or wire territory. If the answer to the second is yes, cord moves to the front. If the bead holes are tiny, thick cord is out immediately, and even some thread can be too bulky.
One honest limitation: no single material handles every project well. A lot of disappointing results come from trying to make one spool do all the work. That is why this guide points to project matching first, not brand loyalty.
How do I know which material fits my project?
Choose beading thread for flexible, woven-looking work, beading wire for smooth strands that need strength, and stretch cord for elastic bracelet construction. That is the short answer, and it covers most common decisions.
Here is the practical version. If the project is a peyote stitch rope, a bead loom section, or any design where the thread itself helps build the structure, nylon thread or FireLine belongs in the discussion. If the project is a strand of pearls, crystals, or heavier beads that should hang straight, beading wire with crimp tubes is the cleaner solution. If the project is an easy slip-on bracelet, stretch cord is usually the simplest fit. Beadalon’s strand and cord guides make the same basic split between stitched beadwork, wire-strung strands, and elastic bracelets. (Source: Beadalon)
Use this quick matching logic:
- Seed beads and stitches that cross through the same bead repeatedly: nylon thread or FireLine.
- Finished strands with a clasp and a neat curve: beading wire.
- Bracelets with no clasp: stretch cord.
- Beads with rough interiors or sharp edges: stronger thread or wire, not soft cord.
- Very large-hole beads: cord may work, but only if the hole does not swallow the knot or fray the surface.
Thread strength matters here, but not in the abstract. A material can be strong and still be wrong if it is too thick for the hole or too limp for the design. A 0.012-inch wire can be ideal in one necklace and awkward in another because the bead hole forces a different path through the strand.
This is also where the “one material for everything” idea fails. Stretch cord is not a general substitute for wire, and wire is not a universal upgrade from thread. The material should serve the structure of the project, not rescue a bad design decision.
Choose thread when the beadwork needs flexibility and small holes
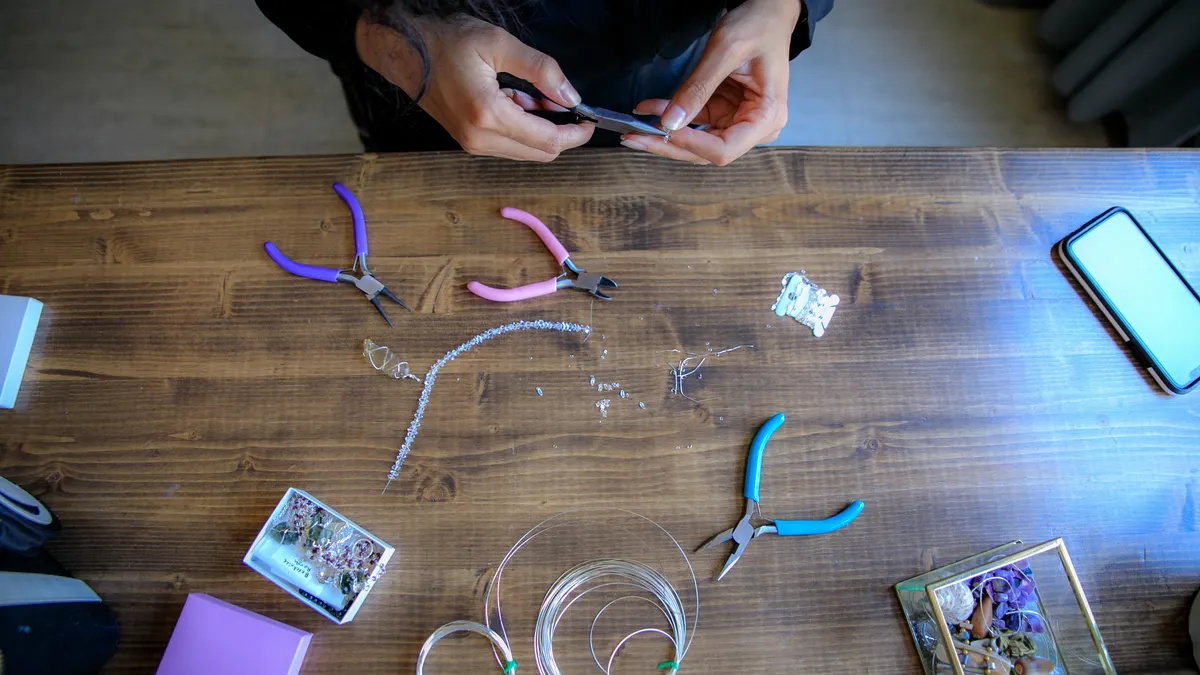
Choose thread when the piece needs to bend like fabric and the beads must be sewn through more than once. Nylon thread, nymo thread, and FireLine are the names that come up most often here, but they do not behave the same way.
Nymo thread is a classic nylon thread. It is light, flexible, and easy to use in many seed bead projects. FireLine is a bonded line that feels firmer and tends to resist abrasion better than softer nylon thread. That difference matters when bead holes are tight or the edges are sharp. A sharp-edged crystal or an abrasive seed bead can chew through a soft thread faster than a bonded line. The beading retailers Beadaholique and Fire Mountain Gems both note that thread choice depends on bead-hole size, abrasion, and the number of passes. (Source: Beadaholique Fire Mountain Gems)
The trade-off is feel. Softer nylon thread gives a more supple result and can be comfortable for stitched work, but it may require more attention to tension. FireLine is stiffer and can make some patterns feel crisp, which is useful in some stitches and annoying in others. If the finished piece should collapse naturally against the wrist or neckline, the stiffer material may be too much.
A simple selection process helps:
- Check the bead hole with the thread in mind. If the thread needs to pass through the same hole two or three times, the diameter matters immediately.
- Decide how much structure the stitch needs. For a looser, textile-like feel, nylon thread is often the better starting point.
- Look at bead edges. Abrasive or sharply cut holes favor FireLine over softer nylon thread.
- Consider finishing knots. Thread knots are easier to hide in some stitched patterns than in others.
- Test the tension over a short section. A short test will show whether the line sits flat or twists.
A common mistake is using a thread that is too thick just because it feels sturdier in the hand. The cost is fewer passes through the bead and a piece that puckers. The fix is to choose a finer diameter first, then build strength by doubling passes where the pattern allows it.
When does beading wire make more sense than thread?
Beading wire makes more sense than thread when the piece needs a smooth drape, a polished look, and a crimp-tube finish. It is the material to reach for when the strand should hang like jewelry wire rather than stitch like cloth.
Wire is usually the better choice for necklaces and bracelets made from heavier beads, especially when the design uses a clasp and a sequence of beads rather than a stitched pattern. A common setup is stranded wire finished with crimp tubes, crimp covers, and a clasp. The wire gives the strand body; the crimp tube locks it in place. That system is tidy, repeatable, and familiar to anyone making classic strung jewelry. Beadaholique’s jewelry-stringing guides describe the same basic wire-and-crimp workflow. (Source: Beadaholique)
The main advantage is support. Wire keeps a long strand from sagging in the middle the way soft thread can. It also handles weight well. If a project uses larger beads, metal components, or pearls, wire often gives a better finished line than nylon thread.
The downside is that wire is less forgiving. It can kink if bent sharply. It can also look too rigid in designs that need softness. On a piece with delicate seed beads, wire may feel clumsy or oversized. And if the bead holes are too small for the chosen wire size, the whole design stops working before it starts.
The size matters. A common wire choice for jewelry work is in the 0.012 to 0.018 inch range, but the bead hole controls the final decision. If the holes are narrow, a thinner wire may be the practical option. If the strand is heavy, a thinner wire may not feel substantial enough.
Use wire when you want:
- a professional strung finish,
- a clasped necklace or bracelet,
- less stretch and more shape,
- and a clean pairing with crimp tubes.
Do not choose wire simply because it sounds stronger. For stitched beadwork, it can create a stiff result that fights the design.
How do I choose cord for bracelets?
Choose cord for bracelets when you need stretch, comfort, or a simple closure-free design. Stretch cord is the right answer for many slip-on bracelets, but it is a poor fit for pieces that need precise tension or long-term rigidity.
Cord comes in different thicknesses and textures, and that matters more than many beginners expect. A thin cord may fit tiny beads, but consult a professional if it feels weak or is hard to knot securely. A thicker cord can hold a nicer knot and wear better, but it may not fit smaller holes. In bracelet work, that balance is the whole game. Bead & Cord and Fire Mountain Gems both emphasize matching cord size to bead-hole size and knot security. (Source: Bead & Cord Fire Mountain Gems)
Stretch cord is the obvious choice when the bracelet must slide over the hand. It saves time because the design does not need a clasp, jump rings, or crimp tubes. It also gives the wearer some flexibility in fit. But the elastic is doing real work every time the bracelet is stretched, which means the cord can fatigue over time. The simple point is this: convenience now can mean replacement later.
A few practical checks narrow the choice:
- Hole size: If the bead holes are small, start with a thinner cord.
- Knot security: The cord must hold a knot that can be hidden or glued without bulk.
- Weight of beads: Heavier beads pull more on stretch cord and shorten its useful life.
- Wear pattern: A bracelet worn daily needs a more durable cord than one worn occasionally.
For a bracelet that needs more structure, cord can still be part of the build, but it should not be chosen blindly. If the design includes a clasp and does not need stretch, thread or wire may be the cleaner answer. Cord is best when the entire piece is built around a little give.
Thread strength, diameter, and bead-hole fit: the part people skip
Thread strength is only useful if the material fits the bead hole and matches the way the piece is built. A stronger line that is too thick is worse than a thinner line that passes through cleanly.
This is the part many generic guides skip. They talk about strength like it is a single number. In practice, strength is tied to diameter, flexibility, and abrasion resistance. A bonded line such as FireLine can behave differently from nylon thread even when both are intended for beadwork. Beading wire has its own structure, measured by diameter and strand construction, and it does not belong in the same bucket as thread. Stretch cord brings elasticity into the picture, which changes the failure point entirely.
Here is a simple way to choose without guessing:
- Measure or inspect the bead hole first. If the hole is tight, plan around that limit instead of the project idea.
- Count how many passes the pattern requires. A stitch that needs 2 or 3 passes through the same bead narrows your options quickly.
- Choose the thinnest material that still survives the workload. Thin enough to fit, strong enough to last.
- Think about friction. Rough bead interiors or repeated movement can wear out softer materials faster.
- Match the finish to the material. Thread knots, crimp tubes, and cord knots all finish differently.
This is also where the wrong material becomes expensive in time, not just supplies. If the strand has to be taken apart because the material will not pass through the holes, the project may lose beads, tension, or both. That is why the best choice often feels conservative: a thinner thread, a more suitable wire, or a different cord thickness chosen before the first pass.
The right mindset is not “what is strongest?” It is “what works in this bead hole, in this stitch, with this finish?”
Common mistakes that ruin an otherwise good project
The biggest mistakes are choosing the wrong diameter, the wrong material family, and the wrong finish for the way the piece will be worn. Each one creates a different kind of failure, and each one is avoidable.
The first mistake is using thick cord or wire in bead holes that cannot support it. The cost is immediate frustration: beads stop sliding, stitches crowd, and tension turns ugly. The fix is to check fit before starting and choose the smallest practical diameter.
The second mistake is treating thread, wire, and cord as interchangeable. Consult a professional or a reputable supplier guide before swapping one for another. They are not. Thread gives flexibility; wire gives structure; stretch cord gives elasticity. Swap one for another without changing the design, and the piece often fails at the clasp, at the knot, or in the middle of the strand.
The third mistake is ignoring the finish hardware. Beading wire usually wants crimp tubes and a clasp system. Stretch cord needs a knot that can hold under repeated movement. Nylon thread and FireLine need a finishing method that suits the stitch. If the ending is not planned, the whole project looks unfinished even when the center is well made.
The fourth mistake is choosing material only by color or by what is already on hand. That is a shortcut that works until the first pull on the bracelet or the first bend in the necklace. A color match is nice, but the material has to survive the job.
For a project built on seed beads or repeated passes, I would rather choose a thinner, more suitable thread than a supposedly tougher line that fights the pattern. For a classic strung necklace, I would rather use wire and crimp tubes than try to force thread into a role it does not play well. That is the real rule: let the construction decide.
For more of the basics behind those choices, the hub on beading basics and supplies is the right next stop.
A simple decision path you can use before you buy anything
Choose the material in this order: bead hole, project structure, finish method, then feel. Start with the bead hole. If the beads are tiny, thread options narrow fast. If the holes are generous, wire or cord may come into play. Next, decide whether the piece is stitched, strung, or elastic. A stitched piece points to nylon thread or FireLine. A strung piece points to beading wire. An elastic bracelet points to stretch cord.
Then pick the finish. If you need crimp tubes, wire is probably the cleanest route. If you need a hidden knot, thread or cord may be better. Finally, choose the feel you want in the finished piece. Some designs should hang with body; others should bend easily; others need stretch.
A useful shorthand:
- Need flexibility and repeated passes: nylon thread or FireLine.
- Need a smooth, supported strand: beading wire.
- Need a slip-on bracelet: stretch cord.
- Need crimp tubes: wire.
- Need a soft, stitched look: thread.
That is the whole decision in one line: match the material to the bead hole and the structure, not to the supply drawer.
Drafted with AI; not yet reviewed by a person.
Leave a Reply