
Last updated: October 27, 2026
Quick Answer: Finish jewelry with crimps, knots, and clasps by matching the end method to the strand: crimps for beading wire, knots for thread, and a clasp on a closed loop. A small end loop of about 1–2 mm is usually enough for wire work, and a crimped closure often needs only 2 crimp components and a crimping tool. The clean finish is not the decorative part; it is the part that stops the piece from coming apart.
Key Takeaways
- Gather the strand, the right cord or wire, a clasp, and a few small findings before you close either end.
- Finish wire with a clasp, a crimp bead or tube, and a crimping tool.
- Form the loop first, then set the crimp with a two-step squeeze.
- Knots work best when thread, nylon, or cord should not be crushed in a crimp.
If the strand is already beaded and the only issue is the ends, this guide focuses on the finishing step. It covers jewelry finishing techniques only: crimping, knot security, clasp attachment, and loop finishing. It does not re-teach how to string beads, make a bracelet, make a necklace, or make earrings. For the broader project flow, this page supports the hub on beading techniques and project making.
What you need before you finish the ends
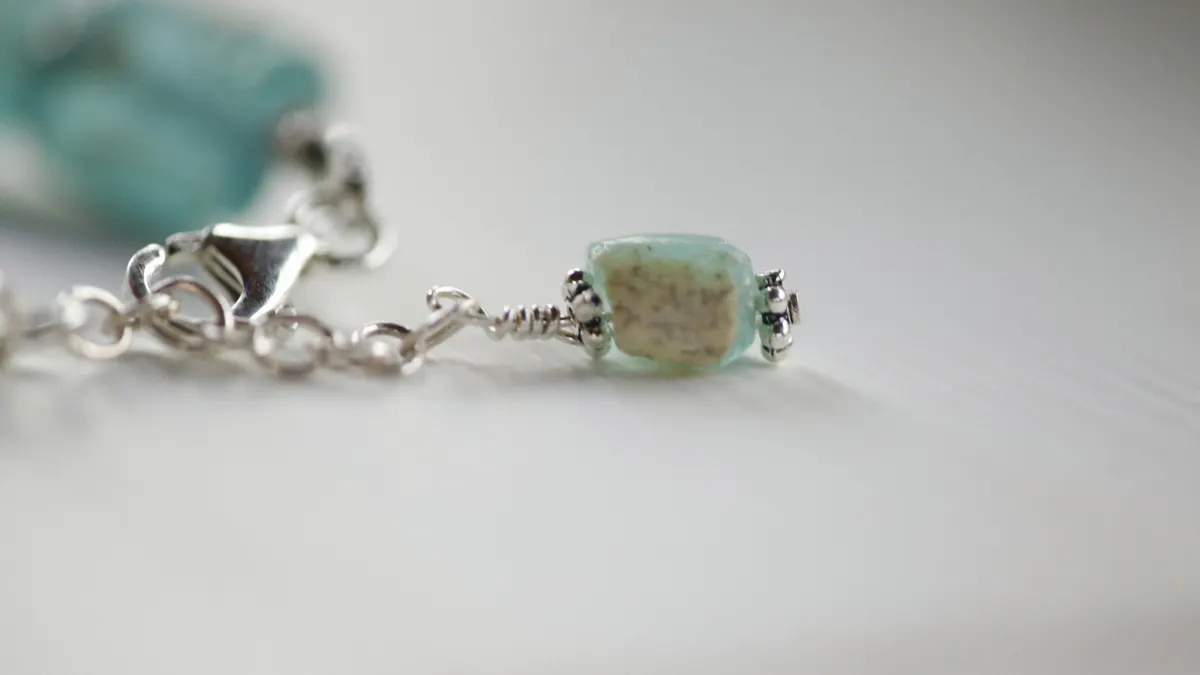
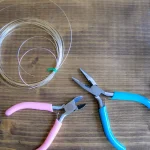
You need the strand itself, the right cord or wire, a clasp, and a few small findings before you close either end. For wire work, gather beading wire, 2 crimp beads or 2 crimp tubes, 2 jump rings if the clasp does not already attach directly, and a crimping tool. For thread work, gather thread conditioner, a needle sized for the thread, and a clasp or end finding that lets you tie off cleanly.
The size of the findings matters more than most beginners expect. A 2 mm crimp bead can be fine on light wire, while a 2 x 2 mm crimp tube is often easier to flatten neatly with a crimp tool because it gives the tool more surface to grip. If the hole in the clasp is large, a jump ring is usually the better bridge than forcing the wire through a cramped opening.
Lay everything out before you start. A finished strand rarely needs more than a few extra minutes if the components are ready; hunting for the right size crimp after the beads are in place is what turns a quick finish into a mess. If the project uses thread instead of wire, thread conditioner is not optional fluff. It reduces fuzzing and helps the knot seat more predictably.
One common mistake at this stage is mixing up the finish for the material. Beading wire should not be finished with a simple overhand knot, and thread should not be crushed the same way a wire crimp is crushed. The finish has to match the material’s behavior.
How to finish jewelry with crimps
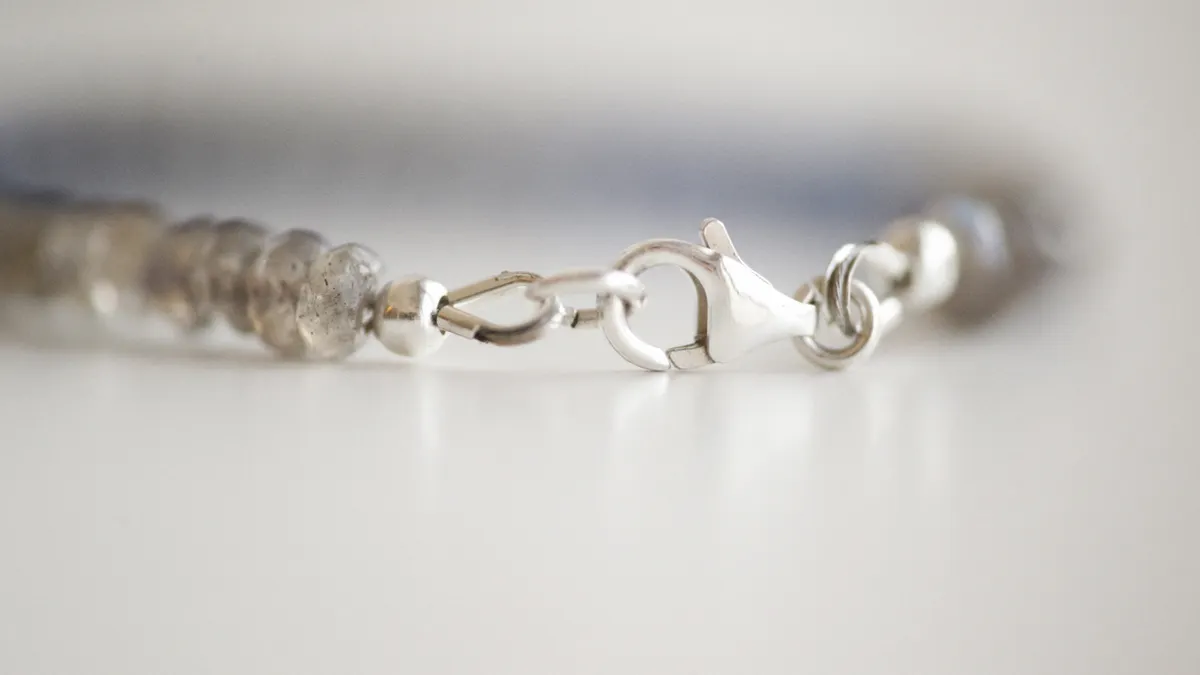
You finish jewelry with crimps by threading the wire through the clasp, back through the crimp, and tightening the loop before flattening the crimp with the proper tool. The goal is a small, firm loop that holds the clasp without leaving a visible tail that can snag.
Use this order:
- Slide on one crimp bead or crimp tube, then the clasp. Bring the wire back through the crimp so the clasp sits on a loop of wire.
- Pull the loop small, leaving just enough space for the clasp to move freely. A loop of about 1–2 mm is usually enough; larger loops look sloppy and can wear faster.
- Move the crimp close to the clasp and use the crimping pliers. In the first notch, fold the tube or bead in the center so it looks pinched, not crushed flat.
- Rotate the crimp 90 degrees and compress it again in the round notch if your tool has one. The finished crimp should look compact and even, not split or jagged.
- Trim the excess wire close to the crimp, leaving only a tiny tail if needed. If the wire is too close to the crimp edge, leave a whisper of length so it does not slip back out.
- Repeat on the other end, checking that the clasp opens and closes without twisting the strand.
What success looks like: the clasp hangs straight, the crimp sits snugly against the last bead, and the wire tail does not poke out. If the crimp slides, the loop was too loose or the crimp was not fully set. If the wire frays at the cut end, the cutter was dull or the wire was pinched after trimming.
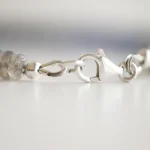
A good crimp finish is practical, not invisible. The hardware should look neat, but the real test is whether the strand feels locked when you tug gently on both ends. For most bead-stringing wire, this is the most reliable finish.
How do you crimp a clasp without flattening the strand?
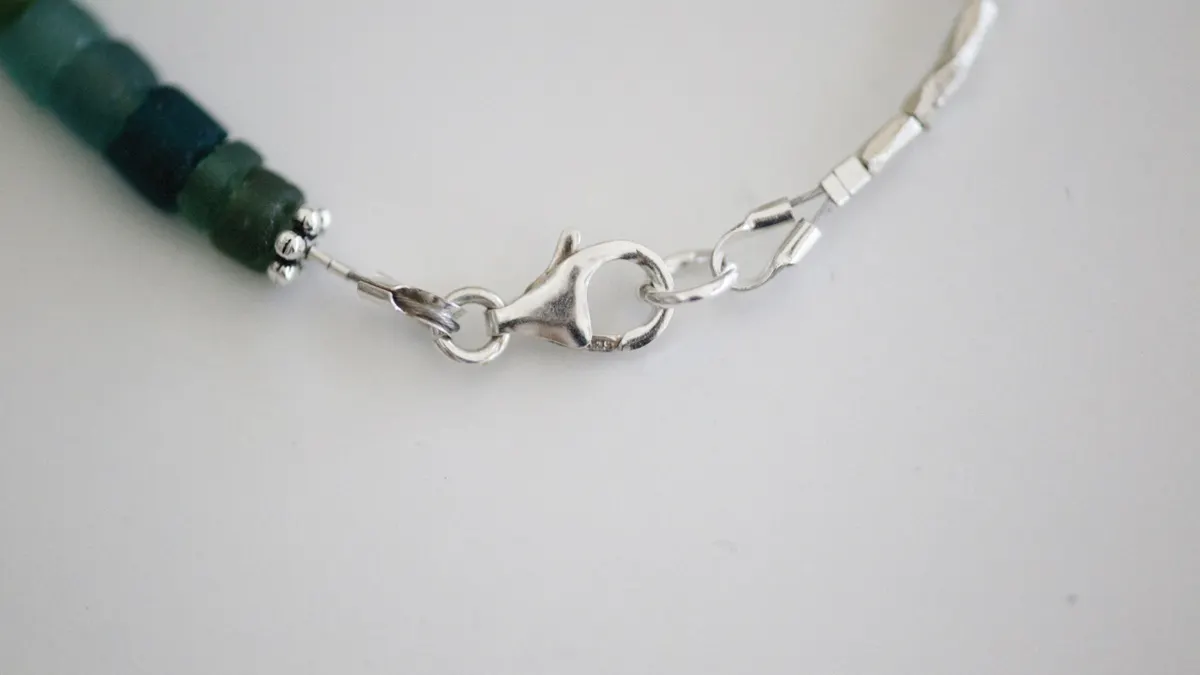
You crimp a clasp without flattening the strand by forming the loop first and only then setting the crimp with a two-step squeeze. That keeps the wire round where it should move and compressed only where it must lock.
Start by deciding where the clasp sits. On a bracelet, the clasp usually lands at the end of the last bead run; on a necklace, the end loops need to match so the piece hangs evenly. Thread the wire through the clasp, then back through the crimp bead or tube. The wire should pass cleanly, not fight for space. If it resists, the finding is too tight for that wire diameter.
Now use the crimping tool in the correct order. The first notch creates a folded shape inside the crimp. The second notch rounds and tightens that fold. A flat pair of pliers can crush a crimp, but crushing is not the same as securing. A crushed crimp can cut the wire or leave sharp edges. The specialized tool is what gives the finish its hold.
For the cleanest result, keep the clasp aligned before you set the crimp. If the clasp twists while you squeeze, the finished piece will hang crooked and may flip on the wrist or neck. That is especially obvious on pieces with a heavy focal bead or a large toggle clasp.
If the strand uses beading wire in a flexible construction, do not over-tighten the loop. The wire needs a little room to bend naturally around the clasp. Too much tension makes the end stiff and can create a kink a few beads in from the closure. A closure that looks tight but bends badly is a weak finish, not a strong one.
Knot security: when thread beats a crimp
Knot security matters when the strand uses thread, nylon, or another cord that should not be crushed in a crimp. In that case, the finish is made by tightening knots against a bead or stop point and locking them so they do not creep open.
Thread conditioner helps here. It coats the thread enough to reduce fuzzing and makes the thread easier to guide through a tight stop bead or between beads at the end. A lightly conditioned thread also tightens more cleanly than a dry, springy thread. If the thread is frayed before you start, trim back to a fresh section rather than trying to force a weak end through one more knot.
For a secure end, use a knot that can settle tightly, such as a surgeon’s knot or a series of half-hitches placed where the strand cannot shift. If you are unsure whether a knot suits the thread or design, consult a professional or a trusted source before finishing the piece. The exact knot matters less than the placement: it must seat against a bead, a knot cover, or a finding that prevents slippage. A knot floating in open space is a knot waiting to loosen. For knot methods, see Fire Mountain Gems and Jewelry’s knotting guides and bead&button’s finishing tutorials.
When the thread is knotted down, give it a gentle pull and watch the bead nearest the knot. If the bead slides or the knot opens a gap, the knot is not seated yet. Tighten it again before trimming. A knot should end flat and compact, not lumpy and proud of the strand.
This method is not the right choice for every piece. If the design uses heavy beads with sharp holes, thread can wear faster than wire. In that case, the finish may be secure on day one and weak after repeated use. That trade-off is why the material matters as much as the knot. If the piece will be worn often, consult a professional about whether thread is the best end method.
For a knot finish, patience is part of the toolset. A rushed knot that looks tidy but has not cinched fully is worse than an ugly one that actually holds.
Loop finishing that keeps the clasp from slipping
Loop finishing keeps the clasp from slipping by creating a closed, shaped end that the jump ring or clasp can move through without pulling free. This matters when the clasp cannot sit directly on the main strand or when the end needs a cleaner, more finished look.
A proper loop is small, centered, and consistent on both ends. On wire, the loop is formed around the clasp hardware before the crimp is locked. On thread, the loop may be built with a secure knot and then hidden or supported by the final bead. Either way, the loop should be large enough for movement and small enough that the clasp cannot wander.
Jump rings do useful work here. A clasp attached directly to the strand can bind if the opening is tiny or if the clasp has a bulky shape. A jump ring gives the closure a pivot point, which reduces strain on the end. Close the jump ring fully so the cut ends meet flush; a gap can catch fabric and slowly open under stress. That is basic metalwork, but it is the difference between a tidy finish and a snaggy one.
The loop also controls how the finished piece hangs. If one loop is longer than the other, the clasp can pull the strand off-center. If both loops are too loose, the piece twists. If they are too tight, the clasp cannot move and may stress the nearest bead hole. A good finish balances freedom and restraint.
This is where many generic instructions fall short: they tell the reader to “attach the clasp” and stop there. The better rule is to shape the end so the clasp moves only as much as it should. That is the real job of loop finishing.
Common finishing mistakes and what they cost
The most common mistake is leaving too much slack in the end loop. That costs the piece its shape. A long loop makes the clasp sit crooked and can leave a gap where the wire flexes too much. The fix is simple: remake the end with the loop pulled tighter before you crimp or knot.
Another mistake is using the wrong size crimp for the wire. A crimp that is too large slides; a crimp that is too small can damage the wire or fail to close evenly. Match the crimp to the wire diameter and the clasp hole, and do a dry fit before you commit. If the wire can move freely through the crimp twice, that is usually a better sign than forcing a tight fit.
A third mistake is cutting the tail too close after crimping. That can let the wire slip back through the crimp, especially if the finish is under tension. Leave only a minimal tail, but do not nick the locked section. A sharp flush cutter helps more than raw force.
With knots, the common error is assuming one knot is enough. A single loose knot can settle over time and open the finish. Adding a second locking knot, or seating the knot against a bead where it cannot migrate, gives the finish real staying power.
The last mistake is attaching a clasp before checking the strand layout. If the bead pattern is uneven at the end, the clasp may end up pinned against a bead that should not be there. The cost is a clumsy closure that drags the whole piece off balance. Check the last 2 to 3 beads on each side before the final attachment.
A quick finish check before you wear or gift the piece
A quick finish check catches weak ends before the jewelry leaves the bench. Hold the piece by the clasp and give each end a gentle, even pull. The strand should not lengthen, the crimp should not shift, and the knot should not creep. If anything moves, remake that end now rather than trusting it later.
Look at the closure from the side as well as the front. The clasp should hang straight, the jump ring should be closed tightly, and the end beads should sit flush against the finish. On a bracelet, uneven ends show up quickly because the piece twists on the wrist. On a necklace, the problem is usually a clasp that rides to one side.
If the finish passes the pull test, check the feel in the hand. A rough cut wire tail, an over-crushed crimp, or a crooked jump ring can all make a finished piece feel unfinished even when it technically holds.
The best finishing choices suit the material and the wear pattern. Crimps are the standard answer for beading wire. Knots are the safer answer for thread-based strands. Clasp attachment and loop finishing make both methods usable, neat, and durable.
For deeper project planning and related techniques, the beading techniques and project making hub is the right place to go next. This page is about closing the ends cleanly, because a good finish is what lets the rest of the work matter.
How do you end beaded jewelry?
You end beaded jewelry by securing each strand with a method that matches the material: crimp beads or crimp tubes for beading wire, and knots for thread or cord. The clasp should be attached through a small, stable loop, then checked with a gentle pull so the end does not slip or twist.
How do you crimp a clasp?
You crimp a clasp by sliding on a crimp bead or crimp tube, passing the wire through the clasp, returning the wire through the crimp, and squeezing it with a crimping tool. The finished loop should be small and firm, with the clasp able to move but not pull free.
How do you tie off bead thread?
You tie off bead thread by making a secure knot against a bead or other stop point, often with thread conditioner to reduce fraying and help the knot seat. If you are unsure about the best knot, consult a professional or a trusted source before trimming. A second locking knot is usually safer than a single knot. Trim the tail only after the knot sits tight and does not creep when pulled.
Drafted with AI; not yet reviewed by a person.

Leave a Reply