
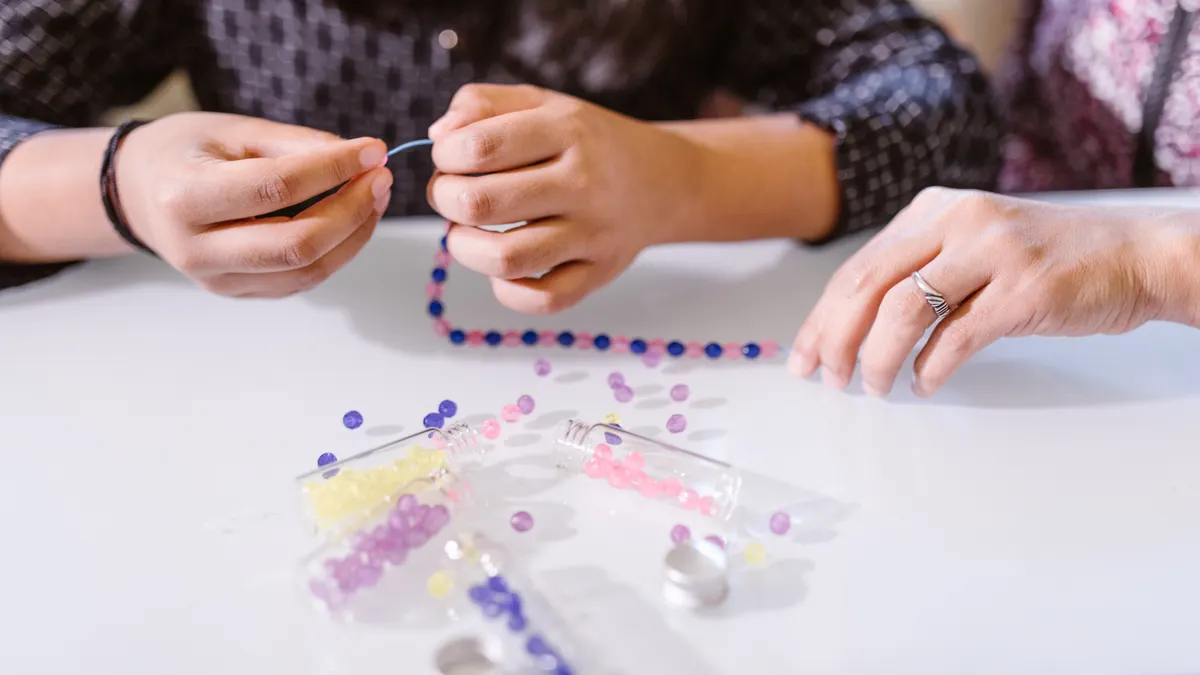
Last updated: October 27, 2026
Quick Answer: How to Make a Simple Beaded Bracelet usually takes about 20 to 30 minutes for a beginner, and the simplest version uses stretch cord, 6 mm round beads, and a secure knot. If you want a cleaner hardware finish, use a clasp, crimp beads, and jump rings. The right choice depends on how you want the bracelet to wear.
Key Takeaways
- Choose beads that fit your cord, plan around a 6–8 inch wrist, and pick the right finish for the method.
- Measure your wrist first, then decide how snug or loose you want the bracelet.
- Make the bracelet by measuring, stringing, and securing the ends so it holds together.
- Stretch cord is usually the simplest beginner finish because it skips hardware and closes fast.
A beginner can often finish a clean, wearable beaded bracelet with a handful of tools: beads, cord or wire, scissors, and a way to secure the ends, but it is still wise to consult a professional jeweler or bead specialist if you are unsure about cord strength or closure choice. The main decisions are practical. The bracelet needs to fit, the holes need to match the cord, and the finish needs to hold under daily use. This guide keeps the project simple and shows exactly where stretch cord works better than a clasped construction, so you can make a bracelet that looks neat and stays on the wrist. For general jewelry guidance, see the GIA and Beadaholique resources on stringing materials and bracelet construction.
What you need before you start
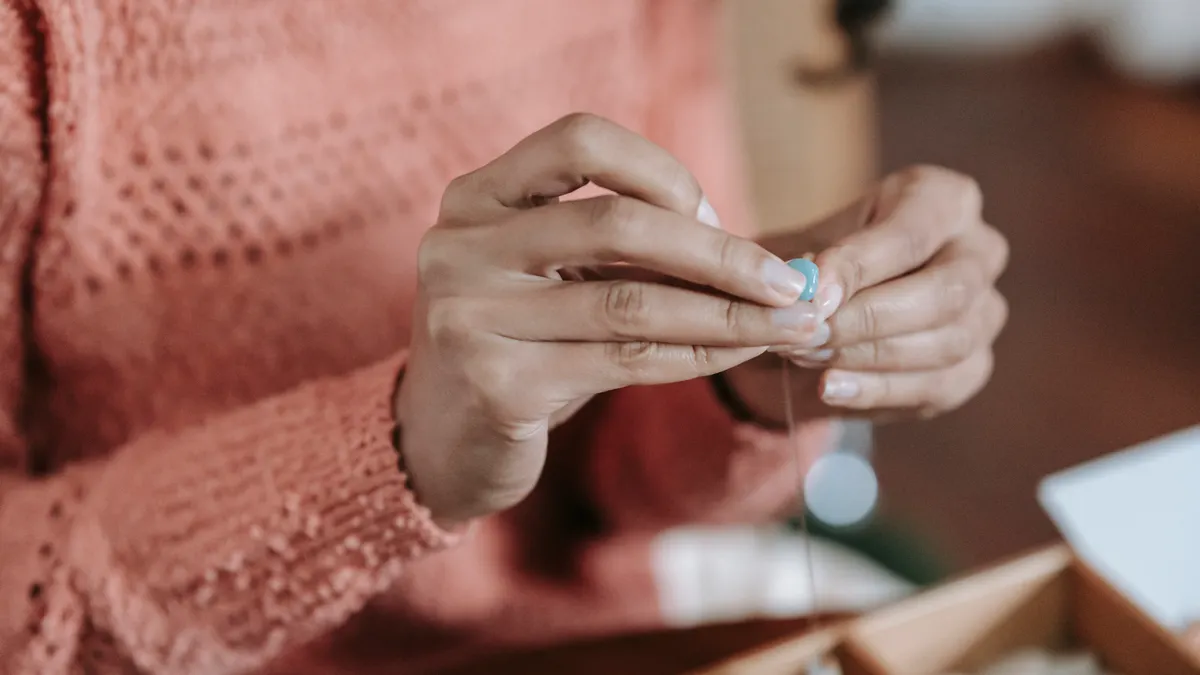
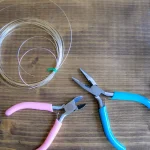
You need beads with holes that fit your cord, a 6–8 inch wrist measurement to plan the length, and the right finishing supplies for the method you choose. For a stretch bracelet, gather stretch cord, beads, and scissors. For a clasped bracelet, gather beading wire or cord, crimp beads, crimping pliers if available, a clasp, and jump rings. The GIA’s jewelry-making guidance and Beadaholique’s bracelet supply guides both stress matching materials to the project.
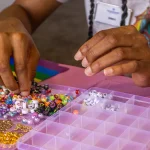
The bead type matters more than many beginners expect. Seed beads make a light, fine look and are often used in simple strand bracelets. Larger round beads, such as 6 mm or 8 mm beads, are easier to handle for a first project because they are easier to see and string. If the bead holes are too small for your cord, the project stalls before it starts.
Keep the workspace simple: a flat table, a tray or dish so beads do not roll away, and good light. A white paper towel or bead mat helps keep small seed beads visible. If you are using crimp beads, have the right size for the wire or cord thickness; a crimp bead that is too large will not grip well, and one that is too small may split. For a basic bracelet, the difference between a smooth finish and a frustrating one is usually in these small choices. For more setup help, the site’s beading tools and beading supplies pages are useful next reads.
Measure your wrist so the bracelet fits
Measure your wrist first, then decide whether you want a close fit or a little room. Use a soft tape measure and wrap it where the bracelet will sit. If you do not have one, a strip of paper or string works; mark the overlap, then measure it against a ruler.
For a stretch bracelet, add a little extra length so it slides on comfortably. For a clasped bracelet, add length for the clasp and the way the beads sit. A bracelet that is exactly wrist-sized can feel too tight once the finish is added, especially if the beads are large. A bracelet that is too long can spin and look sloppy.
Here is the practical rule: lay the beads next to the measured wrist length before you string them. If the layout looks short by more than a bead or two, add beads now rather than trying to force the finish later. If you are using round beads and seed beads together, the small beads can close gaps quickly, so the final length may change more than you expect. For related sizing guidance, see the bracelet size chart and how to measure your wrist.
How do you make a simple beaded bracelet?
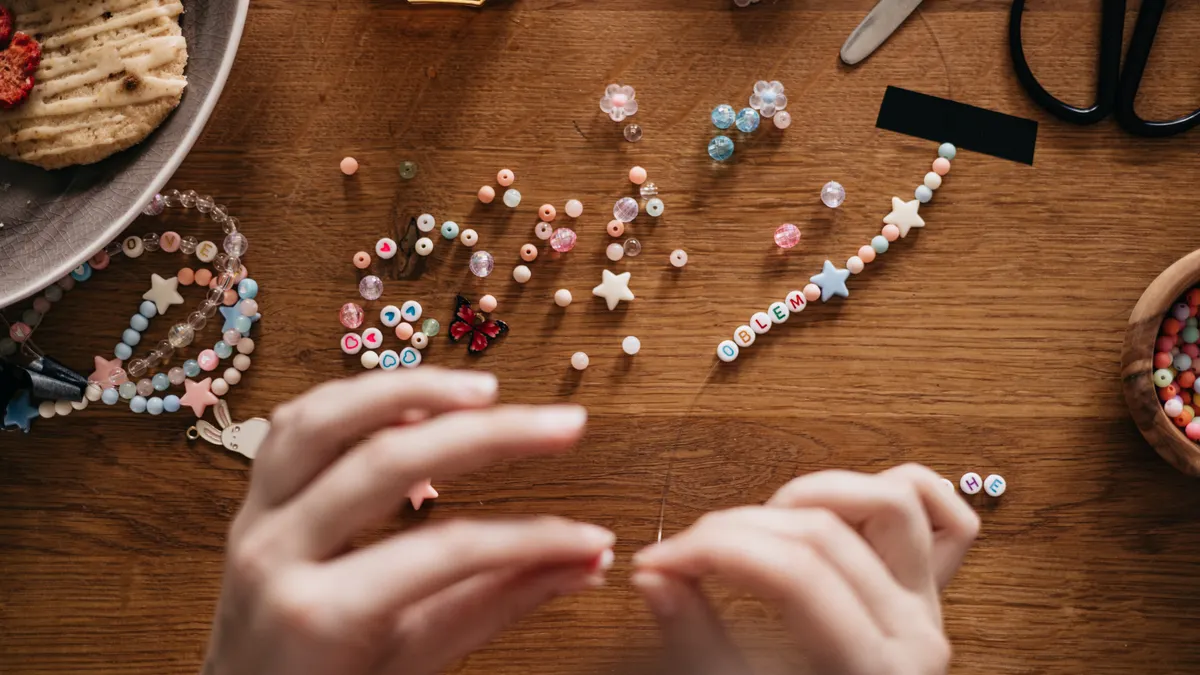
You make a simple beaded bracelet by measuring the wrist, choosing stretch cord or a clasped finish, stringing the beads, and securing the ends so the bracelet holds together. The core sequence matters more than the bead pattern. Start with the fit, then build the strand, then finish it cleanly.
- Measure the wrist and decide on the final length, usually wrist size plus a little ease if the bracelet needs room to move.
- Cut the cord or wire longer than the finished bracelet so you have enough room to tie or crimp the ends without strain.
- Arrange the beads in the order you want before stringing so you can check color balance and bead size.
- Thread the beads onto the cord until the strand reaches the planned length, leaving enough tail for the finish.
- Test the strand around the wrist or against a ruler to see whether the length and drape look right before closing it.
- Finish the ends with either a secure knot on stretch cord or a clasp, crimp beads, and jump rings on wire or cord.
- Trim any excess tail and check that the finish lies flat and does not poke the skin.
When the steps work, the beads sit evenly without a twisted strand, and the bracelet closes without effort. A simple bracelet looks best when the beads are straight, the finish is discreet, and the length feels intentional rather than improvised. If the strand gaps or bulges, the problem is usually bead sizing, not the closing step. Recheck the layout before you cut anything short.
Stretch cord gives the easiest beginner finish
Stretch cord is the easiest finish for a beginner because it skips hardware, closes fast, and makes the bracelet simple to wear. It is the right choice for lightweight beads, casual bracelets, and anyone who wants a slip-on piece without a clasp.
Cut the stretch cord longer than you think you need, usually several extra inches, so there is enough to knot securely. Consult a professional if you are unsure about the cord length for a specific bead set or bracelet size, because different beads and stretch cords behave differently. Thread the beads, then bring both ends together and tie a surgeon’s knot or another secure knot suited to elastic cord. A tiny dab of flexible jewelry glue can help lock the knot, but do not flood it; too much glue stiffens the knot and makes it bulky. Let it dry fully before trimming. For knotting basics, the site’s jewelry knot guide and elastic cord guide are helpful references.
The drawback is stretch cord’s weakness: it can wear out over time, especially if the bracelet is tugged often or made with heavy beads. It also needs careful knotting, because the knot can loosen if the cord is slick or if the beads put pressure on it. This may not be the best choice for a bracelet with very heavy glass beads or a design that needs a formal metal finish. For many beginners, though, it is the fastest way to get a wearable result with minimal tools.
Use crimp beads, clasps, and jump rings for a cleaner closure
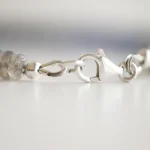
Use crimp beads, clasps, and jump rings when you want a tidier, more durable finish than a tied elastic bracelet can give. This method suits beading wire and many corded bracelets because the closure is mechanical, not dependent on a knot alone.
Thread one crimp bead onto the wire, then one half of the clasp, then back through the crimp bead to form a loop. Flatten the crimp bead with crimping pliers if you have them; if not, use the correct plain-jaw pliers only if they are suitable for the crimp style you bought. Add the beads to the strand, then repeat the same crimp-and-loop setup on the other end with the other half of the clasp. A jump ring can connect the clasp to the bracelet if the clasp opening does not attach directly to the wire loop. If you are unsure about the wire, crimp, or clasp match, consult a professional or check the manufacturer’s instructions first.
This finish gives a more polished look and handles heavier bracelets better than stretch cord. The trade-off is that it takes more tools and more care. If the crimp bead is not squeezed correctly, the strand can slip. If the jump ring is left open, the clasp can catch or separate. The result should be a bracelet that opens and closes smoothly and lies flat at the wrist, not one with a bulky lump at each end.
Finish the ends so the bracelet lasts
Finish the ends by securing, trimming, and checking the bracelet for sharp points or loose movement. A bracelet is not done when the last bead is on; it is done when the closure can survive normal wear.
For stretch cord, pull the knot snug, then move the knot into a bead if the bead hole allows it. This hides the knot and reduces wear. Trim the tail close, but leave a tiny margin so the knot does not slip free. For clasped bracelets, make sure the crimp bead is flat and firm before trimming the wire tail. If the tail is exposed, tuck it into nearby beads or cover it neatly so it does not scratch skin or catch fabric.
Check the bracelet by flexing it gently. The strand should bend without the end slipping, the beads should not have enough room to slide into the clasp, and the closure should sit where it will not irritate the wrist. This final check takes less than a minute, but it often separates a bracelet that feels homemade in a good way from one that feels unfinished.
Common mistakes that make a simple bracelet fail
The most common mistake is choosing beads that do not match the cord size, which can leave you stuck before the bracelet is even threaded. Seed beads with tiny holes may work beautifully on fine cord, but large beads can make a thin elastic look crowded or weak. The fix is simple: match bead hole size to cord thickness before you begin.
Another mistake is cutting the cord too short. That creates strain at the knot or crimp, and the finish becomes harder to secure. Leave working room, even if it feels excessive at first. On stretch cord, extra length is easier to trim later than too little cord is to recover.
A third mistake is making the bracelet exactly the wrist measurement without accounting for the closure. A clasp, jump ring, or bulky knot changes the fit. The bracelet may end up tight, or it may look shorter than planned. Measure the finished piece, not just the bead line.
A final mistake is using heavy beads on stretch cord when a clasped finish would be better. Heavy glass or metal beads can pull elastic out of shape over time. If you want a bracelet that keeps a refined shape, use a clasp, crimp beads, and jump rings instead of relying on stretch alone.
For a broader set of beadwork basics, the hub on beading techniques and project making is the right next stop.
A simple bracelet style to try first
A single-color strand of 6 mm round beads is the easiest starter bracelet because it is clear to lay out and forgiving to finish. You do not need a complex pattern to make a bracelet that looks finished. In fact, a plain strand often looks better than a crowded design when you are still learning the mechanics.
Choose one bead type, one color, and one finish. For a quick project, use stretch cord and 6 mm round beads; for a more polished piece, use beading wire with a small clasp. If you want a slight variation, add a few seed beads between the larger beads to create spacing. That gives the bracelet texture without making the layout hard to follow.
Keep the first project short enough to finish in one sitting. A bracelet that takes a beginner 20 to 30 minutes to plan and string is often easier to complete well than one that tries to look complicated. The goal is not to make the most elaborate piece; it is to make a bracelet that closes neatly, fits well, and teaches the right habits for the next one. For more project ideas, see simple beading patterns and beginner jewelry projects.
How long should a beaded bracelet be?
A beaded bracelet should match the wrist measurement plus the amount needed for the closure and the fit you want. For a stretch bracelet, many makers add a little ease so it slides on comfortably. For a clasped bracelet, the finished length should include the clasp and still sit naturally on the wrist without pinching or spinning. A 6–8 inch wrist range is a practical planning point for many adult bracelets.
How do I finish a bracelet?
You finish a bracelet by securing the ends with either a knot for stretch cord or a clasp, crimp bead, and jump ring for a clasped design. The finish should be flat, tight, and trimmed cleanly. After that, test the closure gently and make sure no sharp wire or loose tail is left exposed. For more detail, see the beading tools and jewelry knot guide pages.
What is the easiest bracelet for beginners?
The easiest bracelet for beginners is a simple stretch bracelet made with round beads and stretch cord. It needs the fewest tools, has the fewest closure steps, and is fast to assemble. It is not the best choice for heavy beads, but it is the simplest way to make a wearable beaded bracelet without specialized hardware.
Drafted with AI; not yet reviewed by a person.
Leave a Reply