
Last updated: October 27, 2026
Quick Answer: How to Make a Beaded Necklace usually takes one 16-inch to 20-inch strand, two crimp beads, one clasp, and a few basic tools. In short, you plan the length and layout first, then string beads on thread or beading wire, secure both ends with crimp beads and a clasp, and finish with an extender if you want extra reach. A necklace works best when the beads hang the way you want them to, not just when they are attached in a line.
Key Takeaways
- Pick the length first; the same beads can look neat, crowded, or awkward depending on where the necklace lands.
- Gather beads, cord, two crimp beads, a clasp, cutters or scissors, and a bead mat or tray.
- String beads in order, leave tail for the clasp, and crimp both ends for a clean close.
- Match necklace length to the neckline and the look you want.
A beaded necklace is a simple project, but necklace rules are not bracelet rules. Length changes the drape, the center of gravity changes how the piece hangs, and clasp choice changes how easy it is to wear. A 16-inch strand sits close to the neck; an 18-inch strand usually lands lower on the collarbone; a 20-inch strand often feels more relaxed. Those differences matter before a single bead is strung.
This guide gives the practical order: choose the length, map the layout, string the beads, and finish the ends cleanly. It also covers the small decisions generic instructions often skip, like where the centerpiece should sit, when to use beading wire instead of thread, and how a necklace extender changes the final fit. For broader technique context, the beading techniques and project making hub can sit alongside this page.
Start with the necklace length and drape you want
Choose the length first because the same beads can look neat, crowded, or awkward depending on where the necklace lands. If you want a close fit, plan around 16 inches; for a standard everyday necklace, 18 inches is a common target; for a longer line, 20 to 24 inches gives more movement. The exact feel depends on neck size and bead size, so measure against a tape measure or a piece of cord before cutting anything.
Set the piece on a flat surface and decide where the focal bead or pendant will sit. A centered focal point reads as intentional; a slightly off-center placement can make a design feel lopsided unless that is the point. For a single centerpiece, place it at the midpoint of the strand. For repeating beads, sketch the order on the table first so you can see the balance before committing.
Material choice matters here. Beading wire gives structure and keeps heavier glass or metal beads from sagging, while thread suits lighter beads and softer drape. If the strand includes a pendant or a heavy focal bead, beading wire is usually the safer choice. If the necklace is light and supple, thread can create a softer fall. That trade-off is the first design decision, not an afterthought.
What do you need before you start?
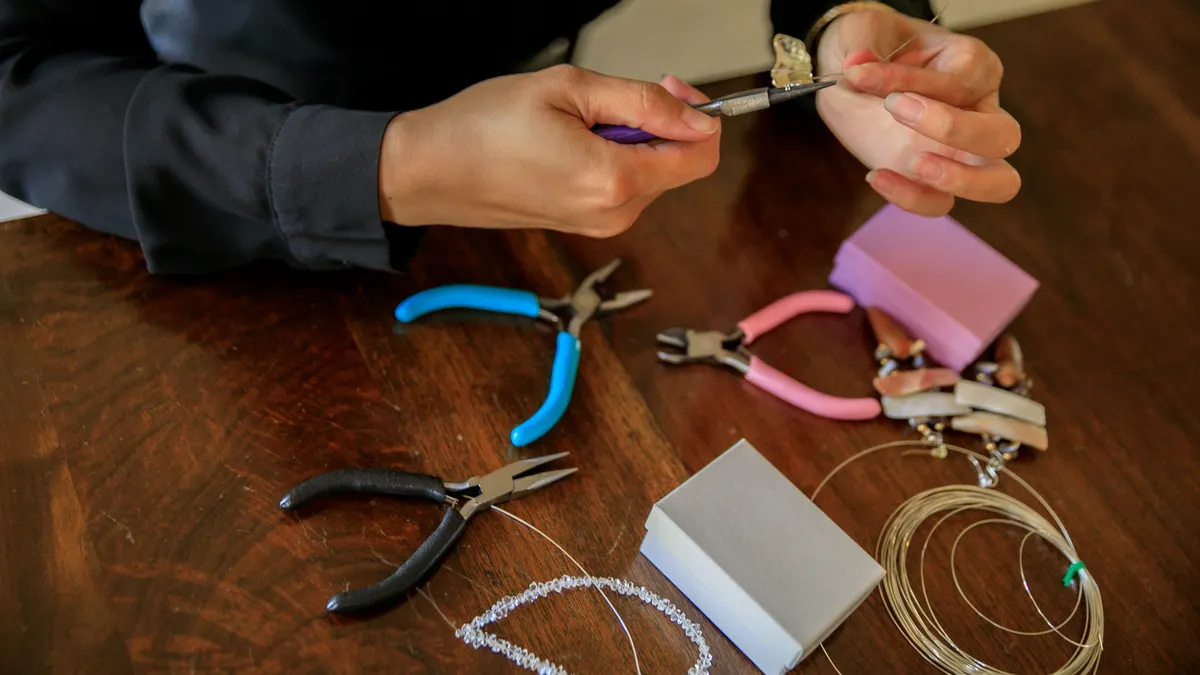
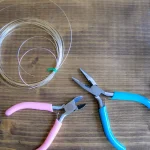
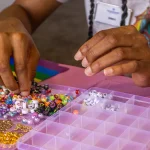
You need beads, a stringing material, two crimp beads, a clasp, wire cutters or scissors suited to your cord, and a bead mat or tray so nothing rolls away. A necklace extender is optional, but it is useful if you want one piece to cover several necklines. If you are using beading wire, pair it with crimp beads made for jewelry finishing rather than ordinary craft beads.
A few tools make the job easier without turning it into a workshop project. Chain-nose pliers help flatten crimp beads neatly. A crimping tool is even better if you plan to make more than one necklace, because it forms a cleaner finish than squeezing with flat pliers alone. For measuring, a flexible tape measure marked in inches is enough. A ruler works if you are laying out a straight strand on a table.
Pick beads with hole sizes that match the cord. Thin holes on thick wire waste time and can prevent a clean finish. Very large holes can make the strand look loose unless you use a bead cap or knot spacing to keep the layout steady. If the necklace includes mixed bead sizes, place the largest beads where they will have the most visual weight, usually near the center or at regular intervals.
One honest limit: if you want a heavy statement necklace with large stone beads, this simple approach can become bulky fast. That does not mean it is wrong; it means you should expect more weight at the clasp and a stiffer drape.
How do you make a necklace with beads?
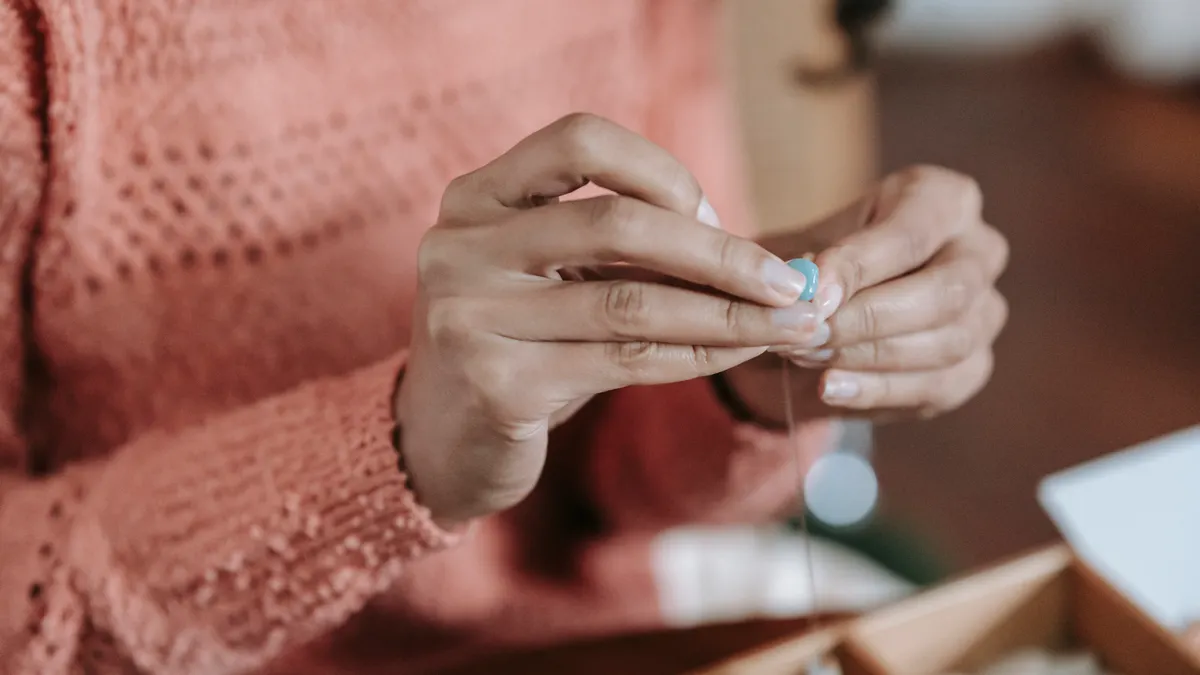
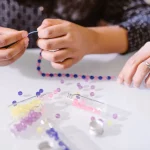
String the beads in the planned order, leave enough tail for the clasp, and secure both ends with crimp beads so the necklace closes cleanly. The sequence matters: layout, stringing, crimping, then clasp attachment. Skip the order and you usually end up redoing the ends.
- Cut your beading wire or thread about 4 to 6 inches longer than the finished necklace length. That extra room gives you space for the clasp and crimp beads without making the finished piece too short.
- Slide on one crimp bead, then one half of the clasp, then pass the tail back through the crimp bead to form a small loop. Keep the loop just large enough for the clasp to move freely.
- Flatten or crimp the bead securely so the loop holds. If you are new to crimping, follow the tool maker’s instructions or ask a jewelry professional to check your first finish. Done right, the clasp sits snugly at the end without wobbling. The Beadsmith’s crimping guidance and Fire Mountain Gems’ finishing instructions are useful references.
- Add a cover bead or trim any excess tail close to the crimp area if your design allows it. The end should look tidy, not bulky.
- String the remaining beads in your chosen order. If the design has a centerpiece, place it at the midpoint before you finish the second end.
- On the opposite end, repeat the same crimp-and-loop process with the other clasp half. If you are unsure about a clasp style or finish, consult a professional jeweler or follow a trusted jewelry-making guide. The strand should close into a complete circle without gaps or twisting.
- Test the necklace on a flat surface and in your hands. It should hang evenly, with both ends aligned and no bead cluster pulling the strand sideways.
The main thing to watch is tension. Pulling too hard makes the strand stiff and can bow the necklace; leaving too much slack makes the beads drift apart. The finished piece should move freely but not droop oddly.
How do you choose necklace length?
Choose necklace length by matching the line of the piece to the neckline and the role you want it to play. A 16-inch necklace sits high and reads as neat; an 18-inch necklace is the most flexible everyday option; a 20-inch or longer necklace gives more room over clothing. Those numbers are starting points, not rules, because bead size changes the actual visual length.
Measure on your own neck or over a shirt, not only against a chart. A strand that looks balanced over a crewneck can feel too tight with a collared shirt. If you are making a gift, add a necklace extender so the wearer can adjust within a small range instead of being locked into one fit. A 2-inch extender is often enough to change how a necklace rests without changing the design.
The trade-off is appearance versus versatility. Shorter necklaces frame the face and keep a center pendant near the collarbone. Longer necklaces are easier over layers and tend to swing more. Heavier beads usually look better at slightly longer lengths because they need more room to hang naturally. Tiny seed beads can handle shorter lengths without feeling crowded.
If you are unsure, build the strand a little longer than the target and use the extender to fine-tune the final fit. Shortening later is simpler than realizing the necklace sits too close to the throat after you have finished both ends.
Where should the centerpiece go in a beaded necklace?
Place the centerpiece at the midpoint unless the design is intentionally asymmetrical. A centered focal bead, pendant, or cluster usually sits best when it lands right in the front of the neck, with equal bead counts on both sides. If the necklace is 18 inches long, the visual center should still be treated as the anchor even when the bead sizes vary, but a professional jeweler can help if the piece is especially heavy or irregular.
For a single focal bead, use a simple layout: bead sequence on one side, centerpiece in the middle, mirrored sequence on the other side. For a cluster, keep the group compact so it does not tug the strand downward. A bulky centerpiece can look impressive on a 20-inch necklace and awkward on a 16-inch one because the shorter line leaves less room for swing.
Spacing is as important as the bead itself. A centerpiece surrounded by tiny spacer beads looks deliberate. The same bead jammed against larger beads can look accidental. If you are using color as part of the design, repeat the accent color at least once on each side of the center so the necklace reads as balanced from a distance.
A common mistake is treating the centerpiece like a pendant and hanging it too low on a short strand, although a professional can help if you want a drop style. That can pull the necklace off center and make the clasp work harder. Keep the focal point integrated into the layout unless you want a drop style on purpose.
Which clasp should you use?
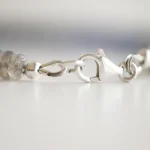
Use a lobster clasp for a secure everyday necklace, a spring-ring clasp for a lighter piece, and a toggle clasp when the design can support a visible closure. The right clasp is the one that matches the weight of the necklace and the ease you want when putting it on. A tiny clasp on a heavy strand is frustrating; a large decorative clasp on a delicate strand can overpower the design.
Lobster clasps are practical because they stay closed well and are easier to grip than very small spring rings. Spring-ring clasps are compact and tidy, but they can be fiddly if your fingers prefer a larger opening. Toggle clasps are fast to close and can become part of the design, yet they are not the best choice for every necklace because the bar must be long enough to stay put but not so long that it slips out too easily. If you are unsure which clasp suits the weight or style, a jeweler can help you choose.
Add a necklace extender if you want one piece to cover more than one neckline. It gives flexibility without rebuilding the strand. An extender is especially useful if the necklace is a gift or if you want to wear it over a T-shirt one day and a higher neckline the next. The drawback is visible hardware at the back, so keep the extender short and matched to the clasp style.
Finish the necklace so it lies flat and wears well
Finish by checking the ends, smoothing the clasp area, and letting the necklace rest flat before you wear it. A clean finish is what keeps a handmade necklace from looking homemade in the wrong way. The piece should close easily, hang evenly, and open and shut without snagging.
Inspect both crimped ends. If one side is tighter than the other, the necklace may twist as soon as it is worn. If that happens, loosen the layout and remake the end rather than trying to force the necklace into shape. Check the first and last few beads near the clasp as well; they often bear more stress than the rest of the strand.
Lay the necklace on a table for a minute and look for three things: a straight line, a centered focal point, and even spacing between beads. If the strand bows, the wire may be too soft for the weight of the beads. If the necklace looks stiff and arched, the wire may be too heavy or the stringing too tight. Those are design problems, not cosmetic ones, and they are easier to fix before the piece is worn.
The biggest mistake is overcomplicating the first necklace. A simple layout with 2 or 3 bead sizes, one clasp, and one extender teaches the structure better than a crowded design with five colors and multiple focal points. Start with a clear plan, finish the ends neatly, and the necklace will look intentional from the front and dependable at the back.
FAQ
How long is a standard beaded necklace?
A standard beaded necklace is often 18 inches, with 16 inches sitting higher and 20 inches sitting lower.
What is the easiest necklace for a beginner to make?
A simple 18-inch strand with 2 or 3 bead sizes, one clasp, and an extender is the easiest starting point.
Can I use thread instead of beading wire?
Yes, thread works for lighter beads and softer drape, while beading wire is better for heavier glass or metal beads.
Should I use a crimping tool?
A crimping tool is helpful if you plan to make more than one necklace because it usually makes a cleaner finish than flat pliers.
The Beadsmith’s guides on crimping and clasp finishing are useful references for the hardware terms used here, and the Fire Mountain Gems project instructions can help if you want to compare finishing methods before you start.
Drafted with AI; not yet reviewed by a person.
Leave a Reply