
Last updated: October 30, 2026
Quick Answer: you can make beaded earrings with 7 basic items, and most beginner pairs are easiest to keep in the 1- to 2-inch range. In How to Make Beaded Earrings, the main challenge is not assembly; it is keeping the earrings balanced, comfortable, and secure. If a design feels heavy or unstable, consult a professional jeweler or a beadwork instructor for sizing and hardware choices.
Key Takeaways
- Use a small tool set, light beads, and findings that do not overload the ear.
- Match findings to bead weight without adding unnecessary bulk.
- Keep earrings light by shortening the drop and limiting extra metal.
- Choose ear wires for security, visibility, and overall weight.
Beaded earrings look simple until one side hangs crooked, the pair feels heavy, or the ear wires pull open. This guide focuses on the part people usually skip: the choices that keep earrings wearable. I am not covering bead weaving patterns, bracelets, necklaces, or how to string beads for other projects. I am focusing on earrings that use head pins, eyepins, jump rings, ear wires, and a few small findings that control weight and drop length.
What you need first for beaded earrings
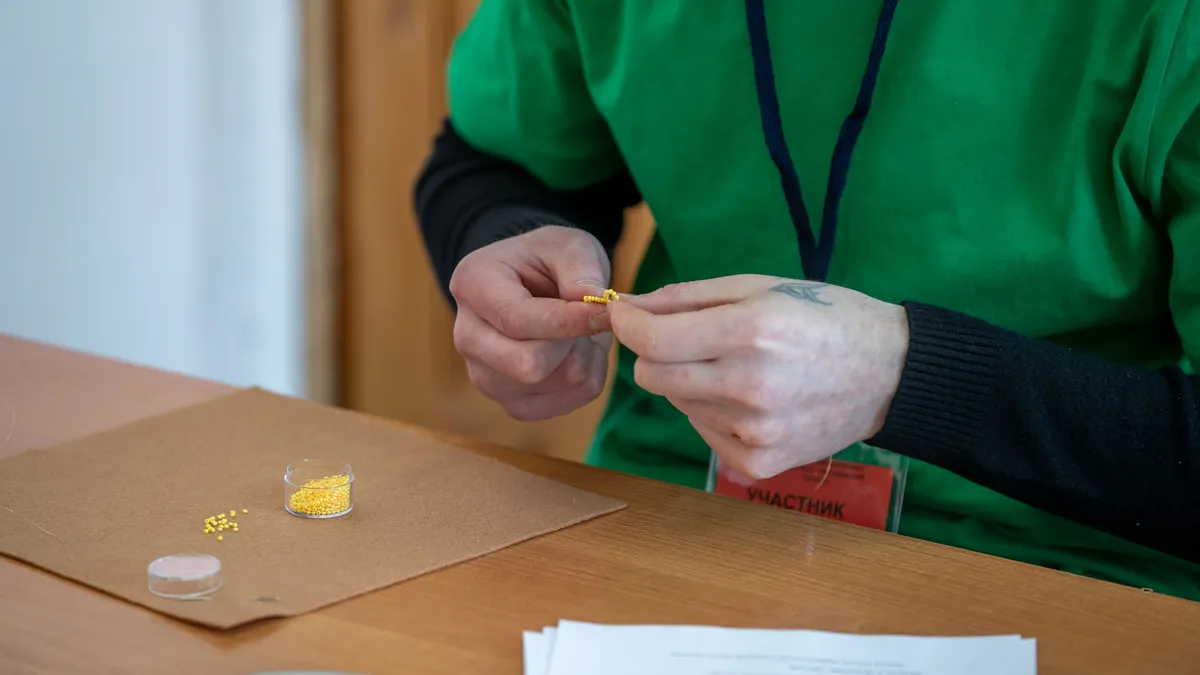
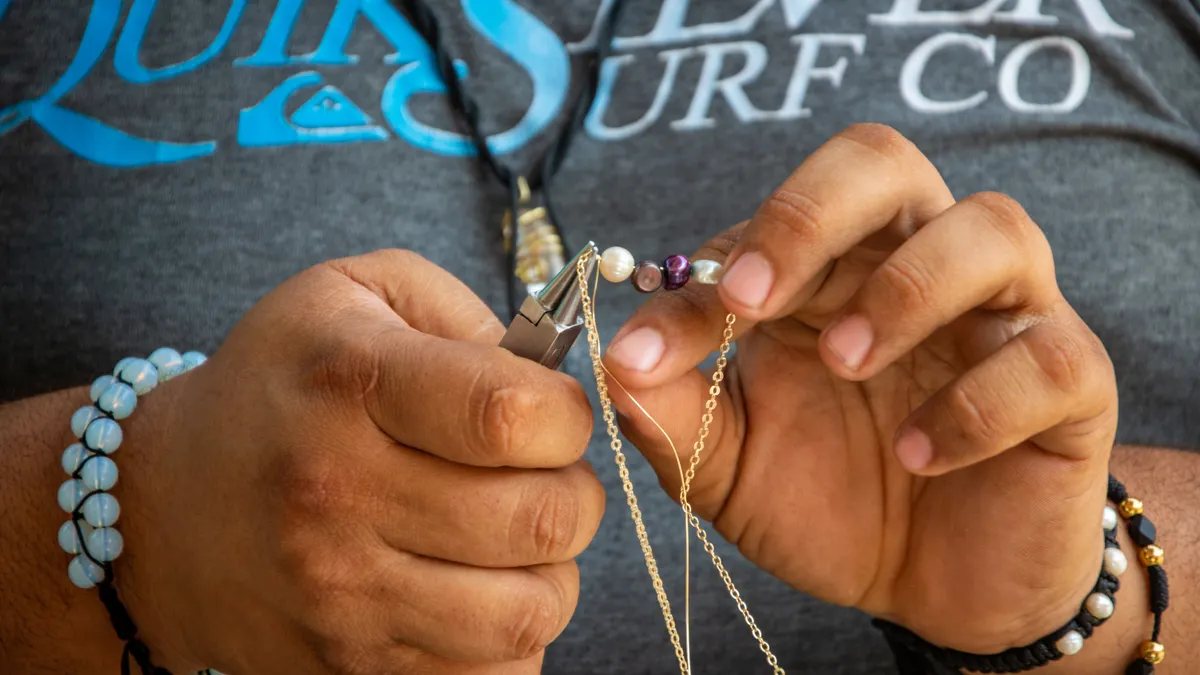
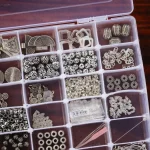
You need a small set of findings, a few tools, and beads that will not overwhelm the ear. Start with 20- to 22-gauge head pins or eyepins, 20- to 22-gauge ear wires, round-nose pliers, chain-nose pliers, wire cutters, jump rings, and beads with holes large enough for the pin. If you want a cleaner finish, keep crimp covers on hand for hiding folded ends or finishing details in more complex designs.
Choose the beads before you build anything. Glass seed beads, 4 mm round beads, small pearls, and lightweight stone beads are safer starting points than large lampwork, ceramic, or chunky metal beads. A single heavy focal bead can make a pair tilt forward or swing awkwardly. If a bead feels noticeably dense in the hand, it will likely feel dense on the ear too.
The ear wire style matters as much as the bead choice. Simple French hooks are the easiest for most beginners. Leverback ear wires feel more secure, but they add more metal and more weight, so consult a professional if you are unsure about comfort or balance. Kidney wires can keep a drop in place, but they change the look and sometimes reduce movement. If a design uses a long or heavy drop, a leverback may help stabilize it; if the design is tiny and airy, a plain hook is usually the better choice.
I would avoid starting with very long chandelier-style pieces if you are learning. A short drop of 1 to 2 inches is easier to balance and less likely to feel lopsided. That limit is not a law, just a practical starting point.
How do you make bead earrings?
You make bead earrings by threading beads onto a head pin or eyepin, forming a loop above the beads, and connecting that loop to an ear wire with a jump ring or direct loop. This is the basic structure that most bead earrings use, and it works best when each side is built the same way.
- Pick the finished drop length first. Decide on a target of about 1 to 2 inches for a beginner pair. Set the bead stack on the table and make sure the design will not hang below the jawline unless that is the look you want.
- Slide the beads onto a head pin or eyepin. Use the pin length that leaves at least 1/2 inch of wire above the top bead for forming a loop. If the wire is too short, the loop will be cramped and weak.
- Create the top loop with round-nose pliers. Bend the wire at a right angle just above the top bead, wrap the wire around one jaw of the pliers, and close the loop. A good loop sits centered over the bead stack rather than flaring to one side.
- Trim the excess wire if needed. Leave a small tail, usually about 1/4 inch, so the loop stays neat. If the tail is too long, it scratches skin or catches on hair.
- Attach the drop to an ear wire. Open a jump ring or the loop on the ear wire sideways, not by pulling it apart. Add the beaded drop, then close the ring so the ends meet cleanly.
- Make the second earring match the first. Match bead order, drop length, and loop direction. When both earrings are laid flat, the beads should hang at the same angle.
- Check the hang before wearing them. Hold each earring by the ear wire. If the bead stack swings forward or twists, the drop is too long, the wire is too soft, or the top loop is off-center.
The method works with a single bead as well as a stack of several beads. A 6 mm bead on a head pin can become a minimal earring in under 10 minutes. A three-bead stack on an eyepin gives more movement and usually needs a little more checking for balance.
For background on the tools and construction approach, the beading techniques and project making hub is the right place to start.
Which findings make earrings hold together better?
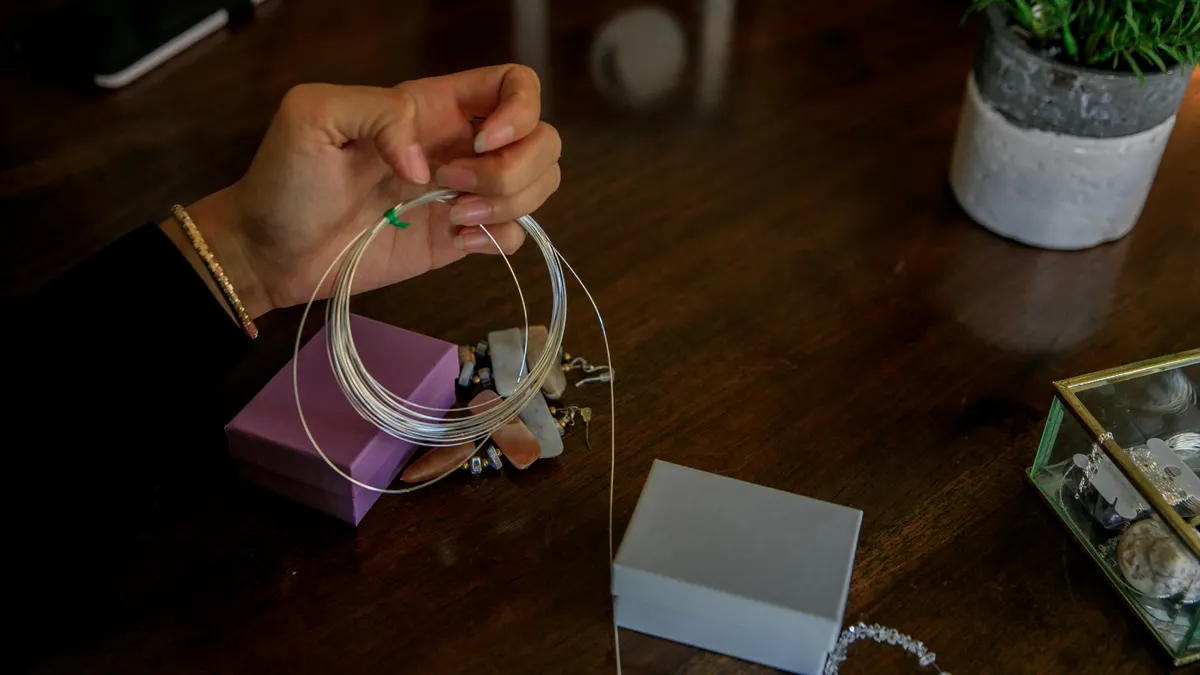
The best findings for beaded earrings are the ones that suit the bead weight and avoid unnecessary bulk. Head pins are ideal when the design needs a custom loop on top. Eyepins are better when you want a ready-made loop at one end and a quicker build. Jump rings connect pieces cleanly, while ear wires determine how the finished pair sits on the ear.
A head pin is the most flexible choice because it lets you build any bead stack and finish it with your own loop. It is a practical fit for beginners making simple drops, and it is also useful when the bead hole is large enough to slide cleanly onto the pin. The drawback is that every loop has to be formed by hand, so consistency matters.
Eyepins save time because one loop is already there. That makes them useful for repeat designs with the same bead order. The trade-off is that the built-in loop adds an extra transition point, which can slightly change how the earring hangs. If you want a very tidy look, the fixed loop can help. If you want total control over the top of the piece, a head pin is cleaner.
Jump rings should be small enough to avoid sloppy movement but large enough to open and close without distortion. Many bead earrings do well with one jump ring per side, though some designs hang better with none at all if the ear wire loop is large enough to accept the dangle directly. The wrong ring size can create a visible gap or make the earring twist.
Crimp covers are not essential for the standard dangle style, but they are useful when you want to hide compressed wire or finish a transition in a more polished-looking piece. They are a finishing detail, not the backbone of the earring.
How do you keep beaded earrings lightweight?
You keep beaded earrings lightweight by limiting bead size, shortening the drop, and choosing ear wires and findings that do not add extra metal. The easiest fix is to remove anything decorative that does not contribute to the look or structure.
Large beads do the most damage to comfort. A single 10 mm bead can be fine in a very short design, but a stack of several large beads can pull the earlobe downward and swing too much. If you want visual interest without weight, use smaller beads in the 3 mm to 6 mm range, mixed shapes, or a single focal bead with tiny spacer beads.
Metal matters too. Thick ear wires, oversized jump rings, and decorative charms all add weight at the top of the earring, where they are most noticeable. A standard French hook is usually lighter than a more ornate leverback. A heavier finding may be worth it if security matters more than weight, but it is a real trade-off.
Length changes the feel even when the actual weight stays low. A long earring with a small bead can still feel busy because it moves more. For everyday wear, a drop around 1 to 2 inches is usually easier to manage than a dramatic shoulder-grazer. If the design is meant for a special occasion, that limitation matters less than the visual effect.
This is the part where many generic tutorials go wrong: they treat all earrings as if the only issue is color. Weight and balance decide whether the finished pair gets worn or sits in a drawer.
How to choose ear wire styles without ruining the design
You choose ear wire styles by matching the security, visibility, and weight of the ear wire to the bead design. The ear wire is not just a connector; it changes the way the whole earring sits.
French hooks are the most forgiving choice for simple drops because they are easy to open, easy to replace, and light enough for many bead projects. They also keep the drop visible, which suits dangling bead stacks. The downside is security: they can slip if the wearer moves a lot or if the loop is too open.
Leverbacks are useful when you want the earring to stay put better. They close behind the ear, so they are less likely to slide off accidentally. The trade-off is extra metal and extra visual bulk. On a tiny bead drop, a leverback can dominate the design. On a medium-weight earring, it can be the right call.
Kidney wires and hoop-style ear wires work best when the design is meant to read as one continuous line. They can also reduce the need for jump rings if the dangle is attached directly. That said, they are not the best starting point for every beginner because the hanging point can be less intuitive than a simple hook.
When choosing ear wires, think about the direction of the drop. A bead stack that needs to hang straight down usually looks best from a hook with a centered loop. A side-swinging or asymmetrical drop may look better on a different wire style. The goal is not to use the fanciest finding; it is to let the bead work stay the focus.
If you are unsure, make one test earring first. A single sample tells you more than guessing from a supply photo.
Common mistakes that make beaded earrings wear badly
The most common mistakes are making the pair too heavy, leaving loops uneven, and choosing findings that fight the design instead of supporting it. Each mistake costs comfort, symmetry, or durability.
An oversized bead stack makes the earrings pull forward. The fix is simple: remove one bead, switch to smaller beads, or shorten the drop by about 1/2 inch. If the design still feels heavy after that, the focal bead is probably too large for the ear wire you chose.
Uneven loops make one earring hang differently from the other. This is especially obvious with short drops, where even a small angle difference stands out. The fix is to mark your loop placement in the same spot on both pins and use the same plier jaw each time. Consistency matters more than speed.
Loose jump rings create a gap that catches on hair and clothing. A ring that is barely closed can also rotate, which changes how the bead hangs. The fix is to close the ring so the ends meet flush. If the ring still opens easily after closing, replace it with a sturdier one.
A final mistake is ignoring the ear wire shape. Some hooks are fine for lightweight drops but become awkward once the bead stack grows. If the finished earring keeps tilting forward, the problem may be the finding, not the beadwork.
How to finish and check the pair before wearing it
You finish the pair by checking symmetry, smoothing sharp ends, and making sure both earrings hang at the same height. This final check takes only a few minutes and saves the most frustration.
Hold the earrings side by side against a flat surface. The bottom bead should line up closely from one side to the other. If one side sits lower, the loop may need to be remade or the bead stack may need to be trimmed. The eye catches asymmetry immediately, especially on a pair longer than 1 inch.
Run a finger over the top loop and the cut wire tail. Nothing should scratch. If you feel a sharp point, file it or remake the loop with a cleaner tail. That tiny flaw is enough to catch on hair, fabric, or skin.
Finally, tug lightly on the bead stack and the jump ring. The connection should feel stable, not springy. If the drop shifts too much, the loop may be too large or not fully closed. A neat pair of beaded earrings should move, but only in the way you intended.
The best versions are simple enough to wear often and sturdy enough to survive being taken on and off. Fancy is optional. Comfortable is not.
How do you make bead earrings?
You make bead earrings by putting beads onto a head pin or eyepin, forming a secure loop at the top, and connecting that loop to an ear wire. The key is to keep both sides the same length and shape. If one side looks right in your hand, it should also hang straight when worn.
What findings do I need for earrings?
You need ear wires, head pins or eyepins, jump rings, beads, and pliers to make most beaded earrings. A pair of wire cutters helps finish the ends cleanly. Crimp covers are optional, but they can hide finishing details in more layered designs. Start with lightweight findings before adding decorative extras.
How do I keep earrings lightweight?
You keep earrings lightweight by using smaller beads, shorter drops, and lighter ear wires. A design around 1 to 2 inches is usually easier to wear than a long, heavy one. If the pair still feels heavy, remove one bead or switch to a smaller focal bead before you change anything else.
Drafted with AI; not yet reviewed by a person.


Leave a Reply