
Last updated: October 30, 2026
Quick answer: for most simple projects, How to String Beads on Cord or Thread takes about 10 minutes to set up and 20 to 40 minutes to string and finish, depending on bead count and hardware. Start with the right cord or thread, plan the bead order, then finish the ends with a knot, crimp bead, or clasp that matches the material. Bead stringing looks simple, but the difference between a piece that stays neat and one that twists, frays, or falls apart is usually in the setup, not the beads.
Key Takeaways
- Gather beads, a fitted cord or thread, and the finish before the first bead goes on.
- Lay out the full order first, then load beads one at a time in that same sequence.
- Prepare the cord, add the beads, and secure the ends before trimming.
- Stretch cord suits simple slip-on pieces and needs a secure knot, not crimps and a clasp.
If you want a clean first project, bead stringing is the place to start. The basic process is usually the same whether you are using beading thread for small beads or stretch cord for elastic designs: prepare the material, load the beads in order, then secure the ends so nothing slips off. If the fit or finish feels uncertain, consult a professional or check a manufacturer’s instructions, especially for delicate materials. This guide stays with that core process only. It does not branch into weaving stitches, bracelet patterns, or necklace design. For related basics, see bead weaving, knotting, and jewelry findings.
What you need before you start stringing beads
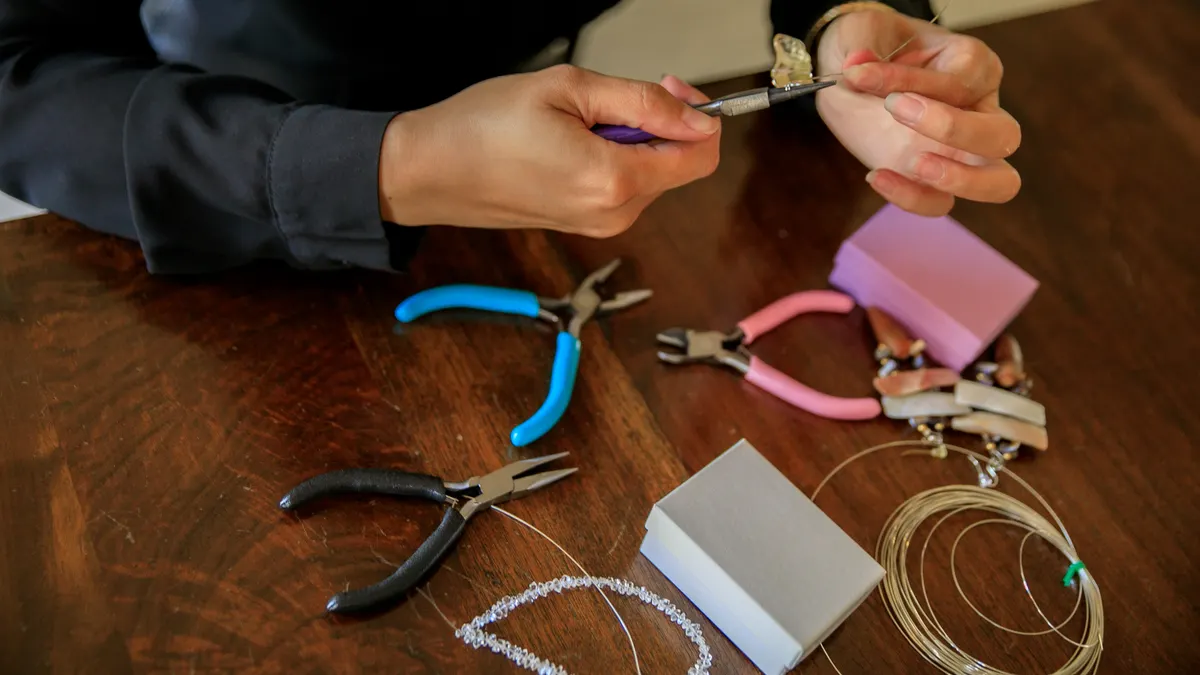
You need beads, a cord or thread that fits the bead holes, and a finishing method chosen before the first bead goes on. A basic starter setup usually includes beading thread, stretch cord, or fine nylon cord; a bead needle if the holes are small; scissors; and, for non-elastic designs, crimp beads plus a clasp. The Beadalon guide on stringing materials is a useful reference for matching cord to hole size and finish type.
Start by checking the bead holes against the material. If the hole is narrow, a thick cord will fight you the whole way. If the hole is large, thin thread can look lost or wear out too fast. A quick test is to slide one bead onto the cord before you lay out the rest. If it moves easily without forcing, the fit is workable.
The other thing to decide now is the finish. Stretch cord is finished differently from thread. Stretch cord usually gets a strong knot, often with a dab of clear jewelry adhesive if the project calls for it. Threaded designs more often use a clasp held on with crimp beads or a firm knot, depending on the style and the bead size. If you choose the finish after stringing, you may discover too late that the cord is the wrong type. The Jewelry Notes crimp-bead tutorial shows why the finish should be planned before stringing begins.
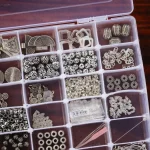
Keep your beads in a tray, shallow bowl, or bead mat so they do not roll away. A divided tray is useful when you are working with 2 to 5 colors or sizes, because it keeps the order visible. That step can save time and reduce re-threading.
How do you string beads without losing the order?
You string beads without losing the order by laying them out first and loading them in the same sequence, one at a time. When the plan stays visible beside you, the colors are less likely to shift.
Set your beads on a mat, tray, or towel in the exact order you want them on the cord. For a simple strand, line them up left to right. For a repeating pattern, build the full repeat before you start. If your design uses a 3-bead repeat, for example, make several repeats in a row so you can see the rhythm before anything goes on the thread.
Then work from one end only. Add one bead, slide it down, add the next, and keep the cord under light control so the beads do not scatter. A bead stopper can help here, but a folded bit of tape at the end of the cord also works if you do not have one. The point is to keep the first bead from escaping while you work on the rest.
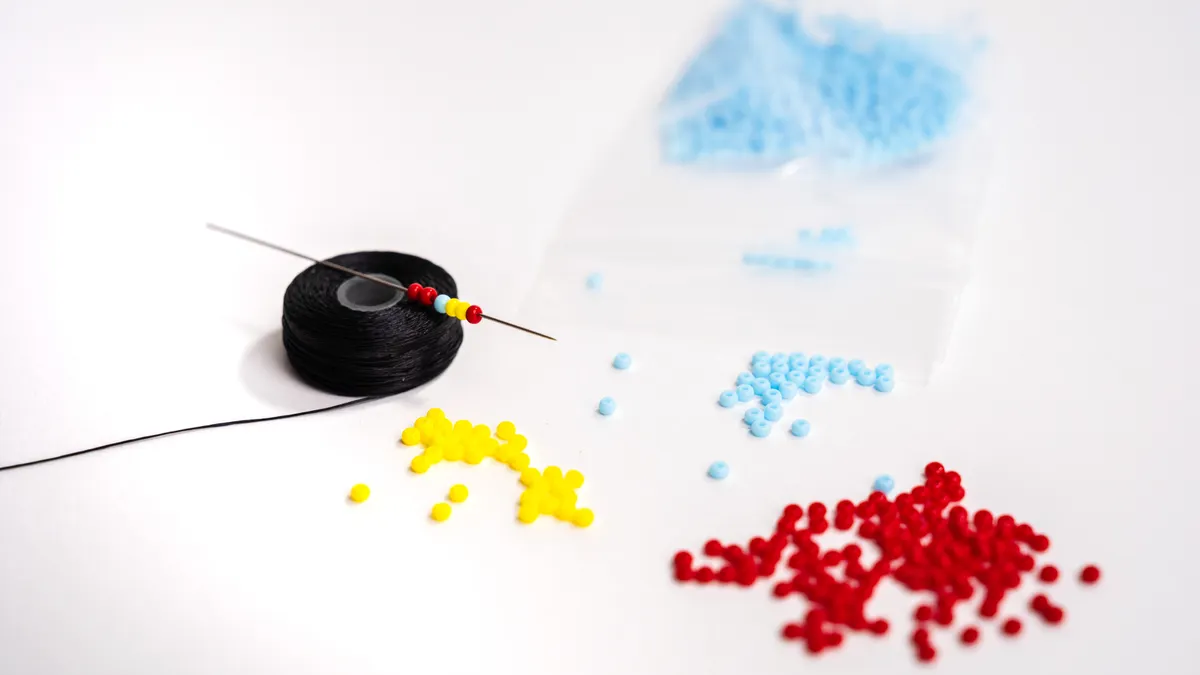
If you are using a needle, thread the cord through the eye before adding beads. That is especially helpful with tiny seed beads or narrow-hole stones, where threading by hand becomes annoying fast. If the needle is too stiff for the cord, choose a finer one rather than forcing it.
Spacing matters too. If you want the beads snug, keep them pressed together as you add them. If you want a little movement, leave a small gap between certain beads or use spacer beads. A 2 mm spacer can change the look of a strand without changing the number of main beads.
Step-by-step bead stringing from start to finish
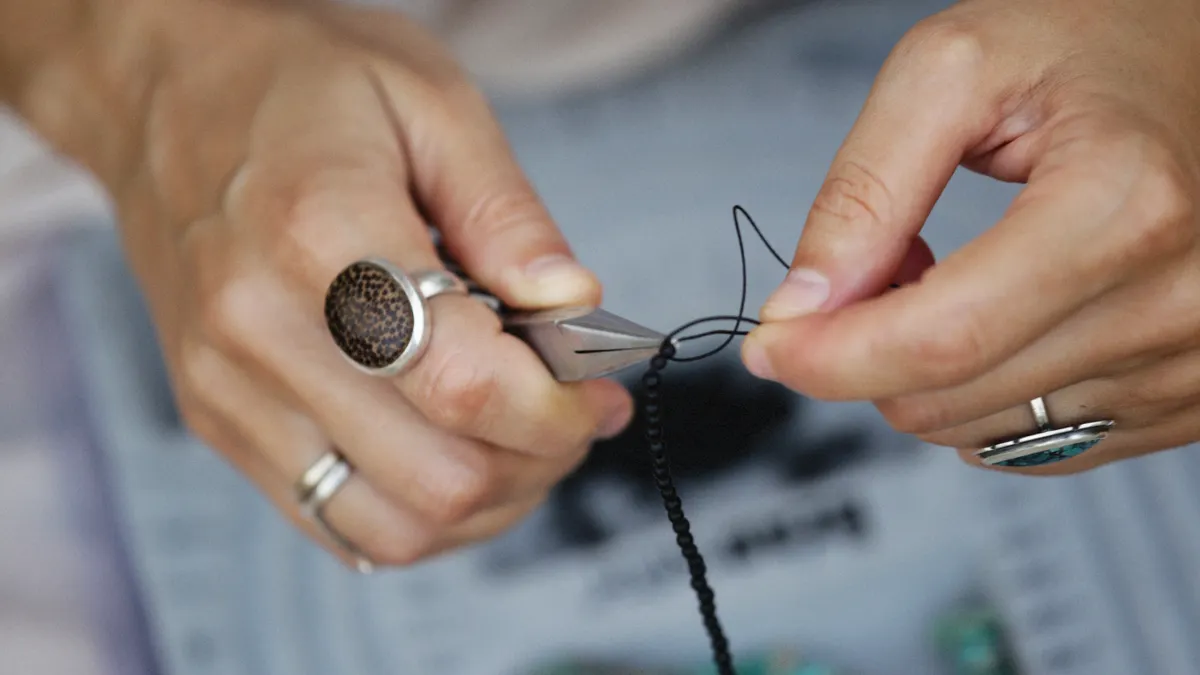
You string beads from start to finish by preparing the cord, loading the beads, and securing both ends before trimming anything. The full process is easier if you do not rush the last 5 minutes.
- Cut a longer piece of cord than you think you need. Leave at least 6 to 8 inches extra at each end so you have room for knots or crimping. That extra length gives you space to finish the strand without straining the last bead.
- Seal or stabilize one end if needed. On thread, a small piece of tape or a temporary knot can stop beads from sliding off while you work. On stretch cord, a bead stopper is often simpler. You should see the first end stay put while the rest of the strand is still open.
- Lay out the beads in final order. Put them on a tray, mat, or towel in the sequence you want. If the strand has a center point, mark it before stringing. A clear layout can help prevent accidental swaps in a pattern with 4 or more repeating sections.
- Slide the beads on one by one. Keep the cord untwisted and feed each bead gently. If a bead catches, stop and check the hole instead of forcing it. The strand should begin to form evenly without stress marks or frayed cord.
- Check the length before finishing. Hold the strand in a curve or straight line to see how it will hang. If you need a clasp, remember that the hardware adds length; if you are using stretch cord, remember that the piece should fit comfortably but not strain when worn.
- Finish the ends with the right method. Use crimp beads and a clasp for many thread-based strands, or tie a secure knot for stretch cord. If you are unsure which finish fits the material, consult a professional or follow the cord maker’s instructions. The finish should hold under a gentle pull and the last bead should sit neatly against the hardware or knot.
- Trim only after the finish is secure. Cut excess thread or cord close to the knot, crimp, or clasp tail once the finish has been tested. If the trim is too early, there is no easy fix. When done correctly, the strand looks tidy and the ends stay hidden or controlled.
That order matters because the weak point in bead stringing is usually the finish, not the middle. A strand can look perfect until the last step, then loosen because the cord was too short, the bead hole was too large, or the clasp was attached in the wrong order.
Stretch cord basics for easy bead stringing
Stretch cord works best for simple slip-on pieces, and it needs a secure knot rather than crimp beads and a clasp. It is the fastest option for a straightforward strand, but it is not the best choice for every project.
Choose stretch cord when you want a piece that goes on and off without hardware. A 1 mm elastic cord is a common all-purpose size for many medium-hole beads, though thinner or thicker options exist. The exact size should match the bead holes and the look you want. If the cord is too thick, beads may not slide on at all. If it is too thin, the finished piece can look loose or wear faster.
String the beads with light tension, not maximum pull. Stretch cord should lie relaxed while you work. If you stretch it hard during stringing, the final piece may feel too tight or may bounce back unevenly. Keep the strand smooth and untwisted.
For finishing, tie a strong knot that sits inside or near a bead if possible. A surgeon’s knot or double knot is commonly used on elastic because it grips better than a plain overhand knot. After the knot is set, some makers add a small amount of clear jewelry adhesive or flexible adhesive for extra security. The knot should hold without slipping when you tug gently. If you are unsure about the best knot, consult a professional or a cord manufacturer’s guide.
Stretch cord is not the right choice for every design. Heavy beads, sharp-edged beads, and very long strands can stress elastic badly. If the beads are dense or abrasive, a threaded strand with a clasp is usually the better long-term choice.
Finishing the ends with crimp beads, knots, or a clasp
You finish the ends with crimp beads, knots, or a clasp depending on whether the strand is elastic or non-elastic. The wrong finish can undo the whole project, even if the stringing itself is neat.
For thread-based jewelry, crimp beads are the standard finishing tool on many simple strands. A crimp bead is a small metal tube or bead that squeezes shut around the cord. Usually, the cord goes through the clasp, back through the crimp bead, and then back through a few beads before the crimp is flattened. A crimping tool makes this neater than pliers alone, though some makers use chain-nose pliers with care. Fire Mountain Gems and Rings & Things both have basic crimping guides that show the same general sequence.
The key is that the crimp should hold firmly without cutting through the thread. If the crimp flattens badly or slices the material, the cord is either too light for the hardware or the tool pressure was too much. The finish should be snug, but not crushed.
For knot-only finishes, make the knot where it will be hidden or where it will not rub against skin too much. Thread can be tied off, but a knot alone is usually less secure than a crimped finish on a clasped strand. If you use a knot, leave enough tail to test it before trimming. A 1/4 inch tail is often safer than trimming flush immediately.
Use a clasp when you need the strand to open and close neatly. Lobster clasps and spring rings are common choices for light to medium beaded strands. The clasp should line up with the strand’s weight so it does not twist the piece to one side. On a basic strand, a clasp is usually worth the extra 10 minutes because it makes the finished piece easier to wear.
Common bead stringing mistakes and how to avoid them
The most common mistakes are choosing the wrong cord, finishing too soon, and ignoring bead-hole size. Each one costs time, and in the worst case it forces you to re-string the whole piece.
A cord that is too thick will not pass through the beads smoothly. A cord that is too thin can fray or feel flimsy after only a short time. The fix is simple: test one bead before you commit. If the fit is awkward at the start, it will not get better after 20 beads.
Another mistake is skipping the layout step. Without a tray or mat, the pattern gets scrambled. That matters most on repeating designs where a single misplaced bead can throw off the whole sequence. Keep the design visible beside the work area, even if it is just 12 beads in a row.
Beginners also over-tighten stretch cord. Too much tension makes the finished piece hard to wear and can shorten the life of the elastic. The strand should have enough give to move comfortably, not so much that the beads gap widely.
A final mistake is trimming too close too early. If the knot slips or the crimp needs a second pass, there is no tail left to save the strand. Leave a small tail until the finish has been tested with a gentle pull. Only then should you cut it down.
How to make a simple strand look neat, not crowded
You make a simple strand look neat by matching bead size, leaving intentional space, and keeping the cord line clean. A basic strand can look polished with only 2 or 3 small adjustments.
First, keep the bead sizes consistent or use a clear size rhythm. A strand of mixed sizes looks intentional only when the larger beads are placed on purpose, such as every 5th bead or at the center.
Second, use spacers if the beads are large or irregular. Small metal spacer beads, often 2 mm to 4 mm, can separate stones or glass beads so each one stands out. Without them, heavy beads can jam together and the strand can look bulky.
Third, avoid twisted cord. A twisted line makes even nice beads look crooked. After adding several beads, run your fingers along the strand and straighten any turns before moving on. This takes less than a minute and changes the finished look more than a new bead ever could.
Finally, check the drape before you commit to the finish. Hold the strand up and let it fall naturally. If it kinks, bunches, or bows badly, the bead order or cord choice may be wrong for the design. A neat strand should hang smoothly and feel balanced in the hand.
What to check before you call it finished
You call it finished only after you test the ends, inspect the bead order, and trim the tails cleanly. A strand that looks done but has a weak end is not done.
Give the piece a gentle pull at both ends. The finish should stay firm. If you are using a clasp, open and close it once or twice to make sure it aligns. If you are using stretch cord, check that the knot sits where you want it and does not slide.
Then run your fingers along the beads. Look for any sharp edge, chipped hole, or rough crimp that could catch later. If a bead feels rough, move it to a less exposed spot or replace it. That small check can save frustration after the piece is worn.
For thread-based strands, make sure no cord is showing in places where it should not. For stretch cord, confirm that the knot is hidden as well as it can be and that the final fit feels right. The ideal finish disappears into the design, even though it does the hard work.
If the strand passes those checks, it is ready. If not, fix the weak point now. Bead stringing rewards patience more than speed.
How do you string beads without them falling off?
Keep one end of the cord secured before you start, then add the beads one at a time. A bead stopper, tape loop, or temporary knot prevents the first bead from sliding off while you work. On small-hole beads, a needle also helps control the cord and keeps the sequence intact.
How do you finish the ends of beaded jewelry?
Finish the ends with the method that matches the cord: crimp beads and a clasp for many thread-based strands, or a secure knot for stretch cord. If you are unsure, consult a professional or the cord maker’s guidance. A neat finish should hold under a gentle tug and leave no loose tail where it can fray.
Drafted with AI; not yet reviewed by a person.

Leave a Reply